> ## Documentation Index
> Fetch the complete documentation index at: https://docs.apinizer.com/llms.txt
> Use this file to discover all available pages before exploring further.
# Creating API from Database with API Creator
> You can create REST APIs that perform database operations in minutes without requiring technical knowledge with DB-2-API. You can run SQL and NoSQL queries, call Stored Procedures, perform Batch operations, and perform CRUD operations
It supports the following operations:
Supports SELECT, INSERT, UPDATE, DELETE, PROCEDURE, BATCH INSERT, TRUNCATE operations.
Provides FIND operation type support.
Provides Stored Procedure calling support.
Can return cursor result.
Provides batch operation support.
Supports all CRUD operations.
## Creating New DB-2-API
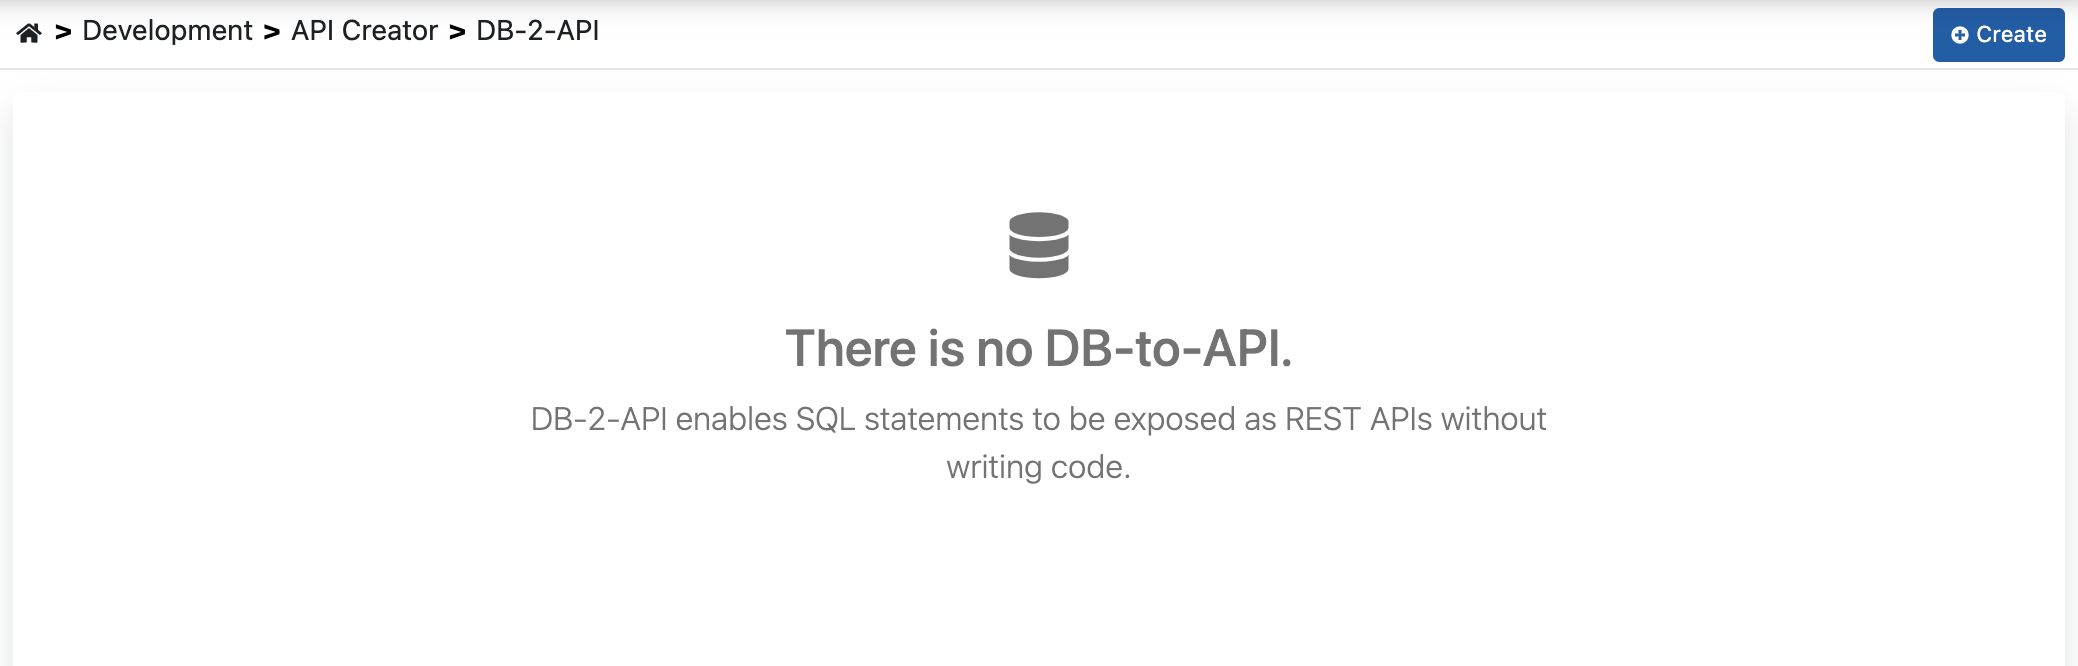
**Development → API Creator → DB-2-API** item is selected in the main menu.
The **+Create** button at the top right of the opened interface is clicked.
 Required fields for the new *API* to be created are filled and the **→Save and Next** button at the top right is clicked, starting the *API* creation process.
 ## Endpoint Creation
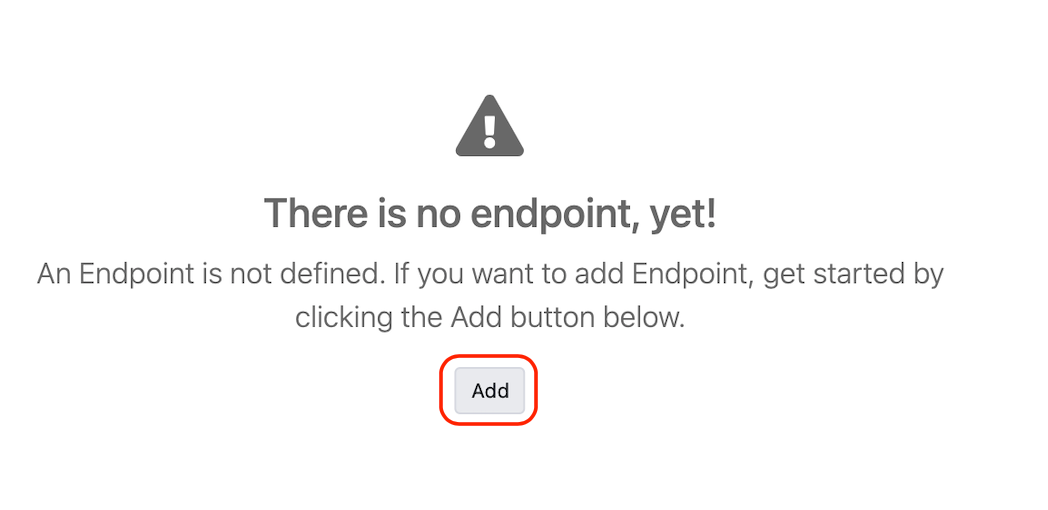
*Method/Endpoint* is added to the API by clicking the **Add** button on the screen that appears.
## Endpoint Creation
*Method/Endpoint* is added to the API by clicking the **Add** button on the screen that appears.
 Fields in the *Method/Endpoint* definition screen are filled and the **Save** button is clicked.
 Fields used to create endpoints are explained below, categorized:
**Field:** HTTP Method
HTTP Method is selected for REST APIs: GET, POST, PUT, HEAD, OPTIONS, DELETE, PATCH, TRACE, ALL
**Field:** Name/URL
The name given to Method/Endpoint by the user. This name appears in interfaces.
**Field:** Description
Definition information of Method/Endpoint.
**Field:** Connection Pool Description
Information about the Database connection where queries will be executed.
**Field:** Timeout
Timeout value in seconds for query execution.
**Field:** Type of SQL Statement
SQL Statement type information: SELECT, UPDATE, INSERT, DELETE, PROCEDURE, TRUNCATE, BATCH INSERT
**Field:** SQL
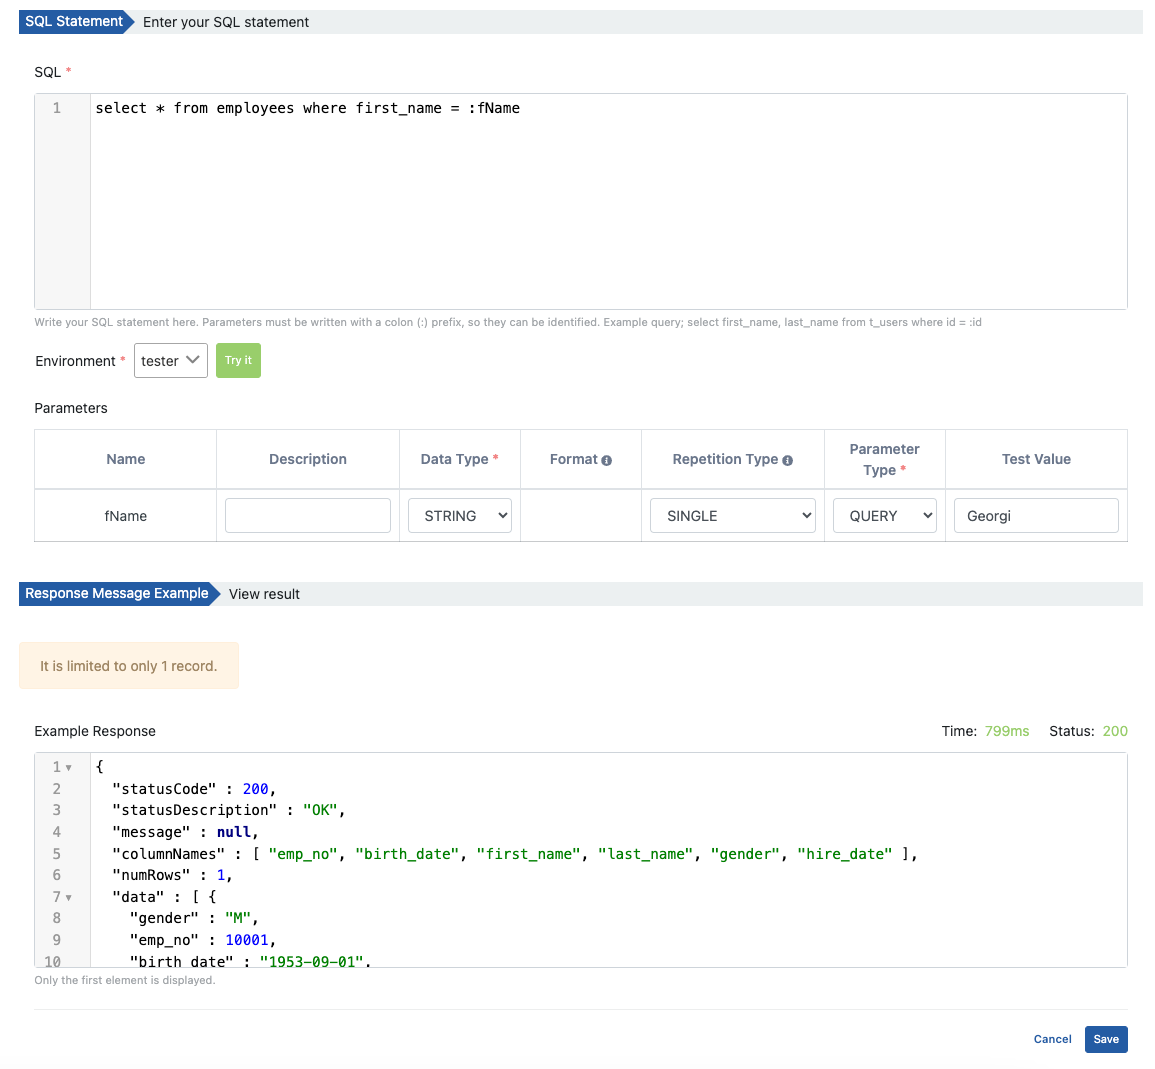
The SQL statement to be executed. Parameters must be written with a colon (`:`) prefix without spaces to be definable.
**Example query:**
```sql theme={null}
select * from employees where first_name = :fName
```
Here `:fName` is a parameter and is sent by the user making a request to the API.
You can check the correctness of your query by entering example values for the parameter and clicking the **Try It** button.
**Field:** Operation Type
NoSQL operation type information: FIND
**Field:** Query
The query to be executed. Parameters are enclosed in double curly braces to be definable.
**Example query:**
```javascript theme={null}
{ username: {{username}} }
```
Here `{{username}}` is a parameter and is sent by the user making a request to the API.
You can check the correctness of your query by entering example values for the parameter and clicking the **Try It** button.
**Field:** Parameters
If there is a parameter like `:fName` in your SQL Query, the Parameters table opens. Here the parameter's:
* Data Type
* Format
* Repetition Type
* Parameter Type
* Example Values
are entered.
Then by clicking the **Try** button, the "Response Message Example" comes according to this data.
## Testing SQL
It may be desired to see what result will be obtained when a request is sent to the endpoint. If the query to be executed for the endpoint has parameters, test data (Test Value) is entered and the **Try It** button is pressed.
The template returned as the test result is the Response object that is stable in Apinizer. If there are multiple records matching the query, only the first record is given in the example response.
Fields used to create endpoints are explained below, categorized:
**Field:** HTTP Method
HTTP Method is selected for REST APIs: GET, POST, PUT, HEAD, OPTIONS, DELETE, PATCH, TRACE, ALL
**Field:** Name/URL
The name given to Method/Endpoint by the user. This name appears in interfaces.
**Field:** Description
Definition information of Method/Endpoint.
**Field:** Connection Pool Description
Information about the Database connection where queries will be executed.
**Field:** Timeout
Timeout value in seconds for query execution.
**Field:** Type of SQL Statement
SQL Statement type information: SELECT, UPDATE, INSERT, DELETE, PROCEDURE, TRUNCATE, BATCH INSERT
**Field:** SQL
The SQL statement to be executed. Parameters must be written with a colon (`:`) prefix without spaces to be definable.
**Example query:**
```sql theme={null}
select * from employees where first_name = :fName
```
Here `:fName` is a parameter and is sent by the user making a request to the API.
You can check the correctness of your query by entering example values for the parameter and clicking the **Try It** button.
**Field:** Operation Type
NoSQL operation type information: FIND
**Field:** Query
The query to be executed. Parameters are enclosed in double curly braces to be definable.
**Example query:**
```javascript theme={null}
{ username: {{username}} }
```
Here `{{username}}` is a parameter and is sent by the user making a request to the API.
You can check the correctness of your query by entering example values for the parameter and clicking the **Try It** button.
**Field:** Parameters
If there is a parameter like `:fName` in your SQL Query, the Parameters table opens. Here the parameter's:
* Data Type
* Format
* Repetition Type
* Parameter Type
* Example Values
are entered.
Then by clicking the **Try** button, the "Response Message Example" comes according to this data.
## Testing SQL
It may be desired to see what result will be obtained when a request is sent to the endpoint. If the query to be executed for the endpoint has parameters, test data (Test Value) is entered and the **Try It** button is pressed.
The template returned as the test result is the Response object that is stable in Apinizer. If there are multiple records matching the query, only the first record is given in the example response.
 If a **null** value is desired to be sent for testing, it is sufficient to write **null** as the parameter.
## Creating API Proxy from DB-2-API
When there is at least one *Method/Endpoint*, an API Proxy is created for DB-2-API by clicking the **Create API Proxy** button.
At least one *Method/Endpoint* must exist to create an API Proxy from DB-2-API.
The API Proxy is created by entering the required fields for the API Proxy on the screen that appears and clicking the **Save** button.
If a **null** value is desired to be sent for testing, it is sufficient to write **null** as the parameter.
## Creating API Proxy from DB-2-API
When there is at least one *Method/Endpoint*, an API Proxy is created for DB-2-API by clicking the **Create API Proxy** button.
At least one *Method/Endpoint* must exist to create an API Proxy from DB-2-API.
The API Proxy is created by entering the required fields for the API Proxy on the screen that appears and clicking the **Save** button.
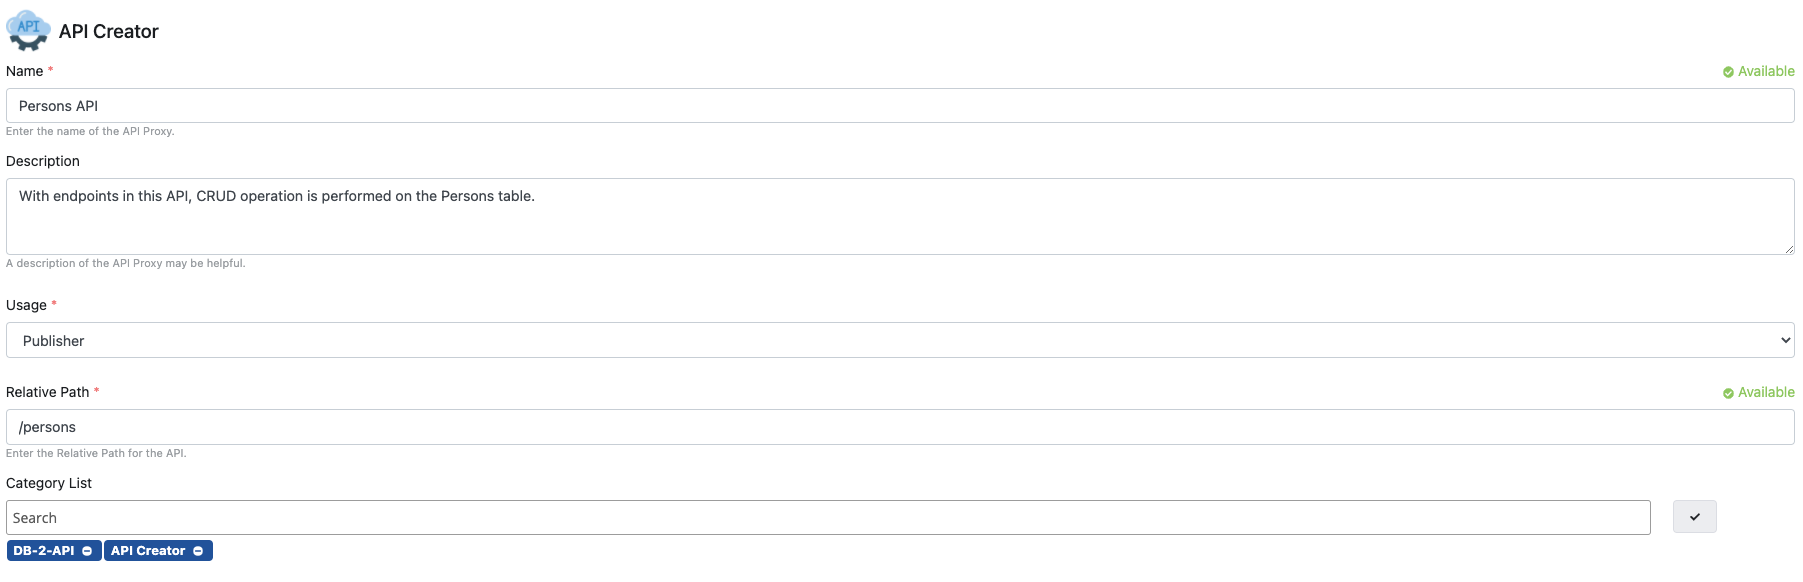 After this step, what can be done is exactly the same as the API Proxy document. You can refer to the [API Proxy Creation](/en/develop/api-proxy-creation/api-proxy-creation) page for details.
You can create multiple API Proxies from one DB-2-API.
## Deploy/Redeploy
To view and manage API Proxies in DB-2-API, click the **Manage API Proxies** link and they are viewed and managed from the opened window. In the opened window, Deploy/Undeploy and Redeploy operations for API Proxies created with DB-2-API are performed in this section.
To deploy the API Proxy, click the **Manage API Proxies** link and press the deploy icon.
After this step, what can be done is exactly the same as the API Proxy document. You can refer to the [API Proxy Creation](/en/develop/api-proxy-creation/api-proxy-creation) page for details.
You can create multiple API Proxies from one DB-2-API.
## Deploy/Redeploy
To view and manage API Proxies in DB-2-API, click the **Manage API Proxies** link and they are viewed and managed from the opened window. In the opened window, Deploy/Undeploy and Redeploy operations for API Proxies created with DB-2-API are performed in this section.
To deploy the API Proxy, click the **Manage API Proxies** link and press the deploy icon.
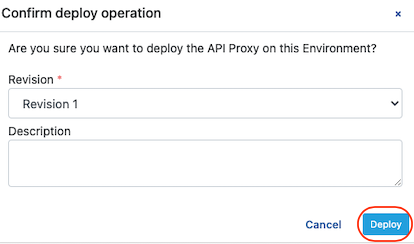
 After the above operation, confirmation is required. Information about the deployment operation is created and the **(Deploy) Deploy** button is clicked.
 When a new *Method/Endpoint* is added to DB-2-API or one of the existing *Method/Endpoint*s is updated, all API Proxies must be redeployed.
When you add a new *Method/Endpoint* or update an existing *Method/Endpoint*, a notification like the following will appear.
When a new *Method/Endpoint* is added to DB-2-API or one of the existing *Method/Endpoint*s is updated, all API Proxies must be redeployed.
When you add a new *Method/Endpoint* or update an existing *Method/Endpoint*, a notification like the following will appear.
 By saying **Redeploy Required**, changes are applied to API Proxies.
 After the above operation, confirmation is required. Information about the redeployment operation is created and the **(Redeploy) Redeploy** button is clicked.
 From the DB-2-API page, go to the API Proxy by clicking the link in the API Proxy's name.
 Similarly, to go to the DB-2-API page from the API Proxy page, go by clicking the DB-2-API name in the API Proxy as shown below.
 ## DB-2-API Deletion
When a DB-2-API is deleted, all API Proxies connected to it are first removed (Undeploy) and then deleted.
## DB-2-API Deletion
When a DB-2-API is deleted, all API Proxies connected to it are first removed (Undeploy) and then deleted.