> ## Documentation Index
> Fetch the complete documentation index at: https://docs.apinizer.com/llms.txt
> Use this file to discover all available pages before exploring further.
# Version Management with ArgoCD
> Argo CD is an open-source GitOps Continuous Deployment tool developed for Kubernetes environments. It has an architecture based on the Single Source of Truth model, which is the cornerstone of GitOps, and monitors applications deployed to Kubernetes at certain intervals and compares them with yaml files in the git repository. When it detects any change, it automatically synchronizes.
## ArgoCD Installation
Follow the steps below to install ArgoCD on the Kubernetes Cluster.
Create a namespace for ArgoCD:
```bash theme={null}
kubectl create namespace argocd
```
Apply ArgoCD manifest files from GitHub repository:
```bash theme={null}
kubectl apply -n argocd -f https://raw.githubusercontent.com/argoproj/argo-cd/stable/manifests/install.yaml
```
Monitor the startup of pods:
```bash theme={null}
watch kubectl get pods -n argocd
```
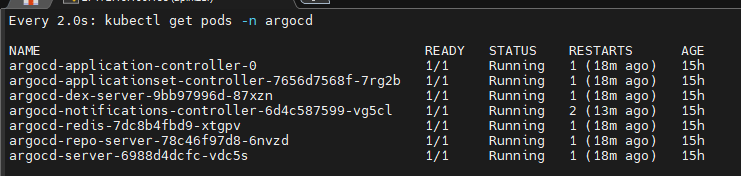 Configure the service type as NodePort to access the ArgoCD interface:
```bash theme={null}
kubectl patch svc argocd-server -n argocd -p '{"spec": {"type": "NodePort"}}'
kubectl get svc argocd-server -n argocd
```
Configure the service type as NodePort to access the ArgoCD interface:
```bash theme={null}
kubectl patch svc argocd-server -n argocd -p '{"spec": {"type": "NodePort"}}'
kubectl get svc argocd-server -n argocd
```
 Access the ArgoCD interface using the port address your service exposes externally:
```
http://:
```
Access the ArgoCD interface using the port address your service exposes externally:
```
http://:
```
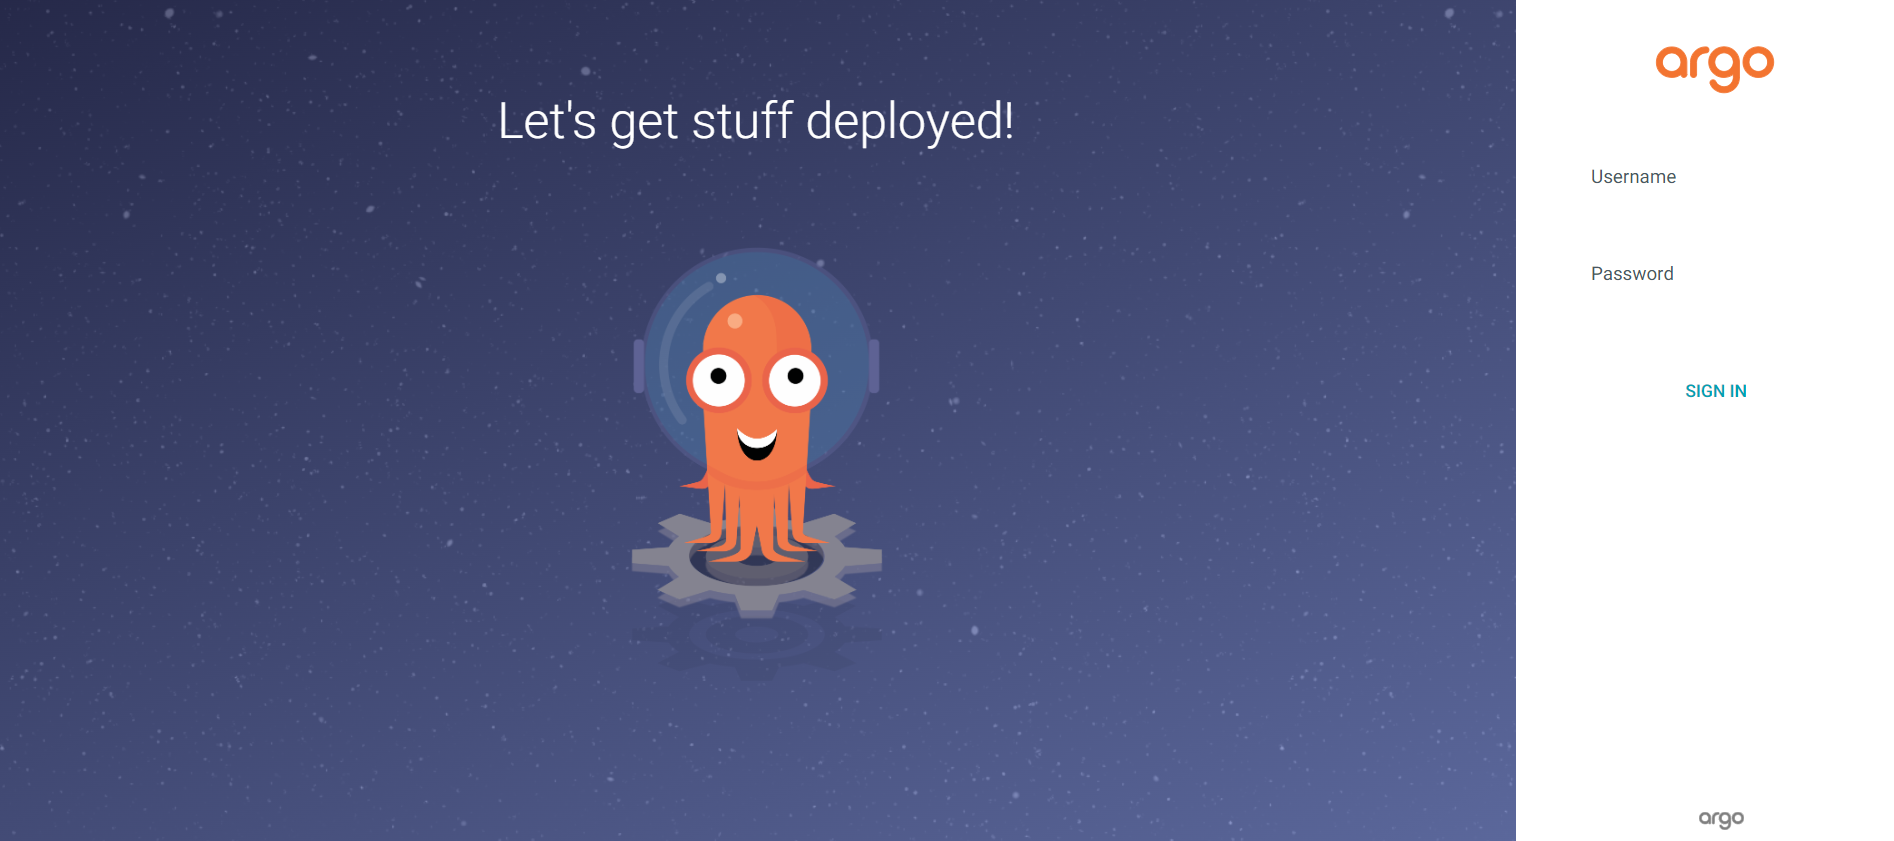 Decode and display the password encoded in Base64 format:
```bash theme={null}
kubectl -n argocd get secret argocd-initial-admin-secret -o jsonpath="{.data.password}" | base64 -d; echo
```
The default username is **admin**. You can log in to the ArgoCD interface using this information.
## Git Installation and Repository Configuration
Perform Git installation and configure the repository to push deployment files to GitHub.
Install the Git package:
```bash theme={null}
sudo apt update
sudo apt install git
git --version
```
Git may ask you for user information. Configure using the following commands:
```bash theme={null}
git config --global user.email "you@example.com"
git config --global user.name "Your Name"
```
Create a repository on GitHub to store your deployment files.
Add it to the git system as a remote address to be able to add files to the GitHub repository.
**Authentication Error Solution**
If you get an "Authentication failed" error when using git, follow these steps:
1. Log in to your GitHub account
2. Click your profile picture in the top right corner and select "Settings"
3. Go to "Personal access tokens" under "Developer settings" from the left menu
4. Click "Generate new token" after "Token"
5. Give necessary permissions
6. Go to the bottom of the page and click "Generate token"
7. **Copy the token value and save it to a safe place. You cannot view this value again.**
Configure the remote address with the token:
```bash theme={null}
git remote set-url origin https://:@
```
Example: `https://test:ghp_xxxx@github.com/test/test.git`
Add the Apinizer Manager deployment yaml file to the git version system and push it to the remote repository:
```bash theme={null}
git init
git add apinizer-api-manager-deployment.yaml
git commit -m "manager add"
git remote add origin
git push -u origin master
```
## Adding Git Repository to ArgoCD
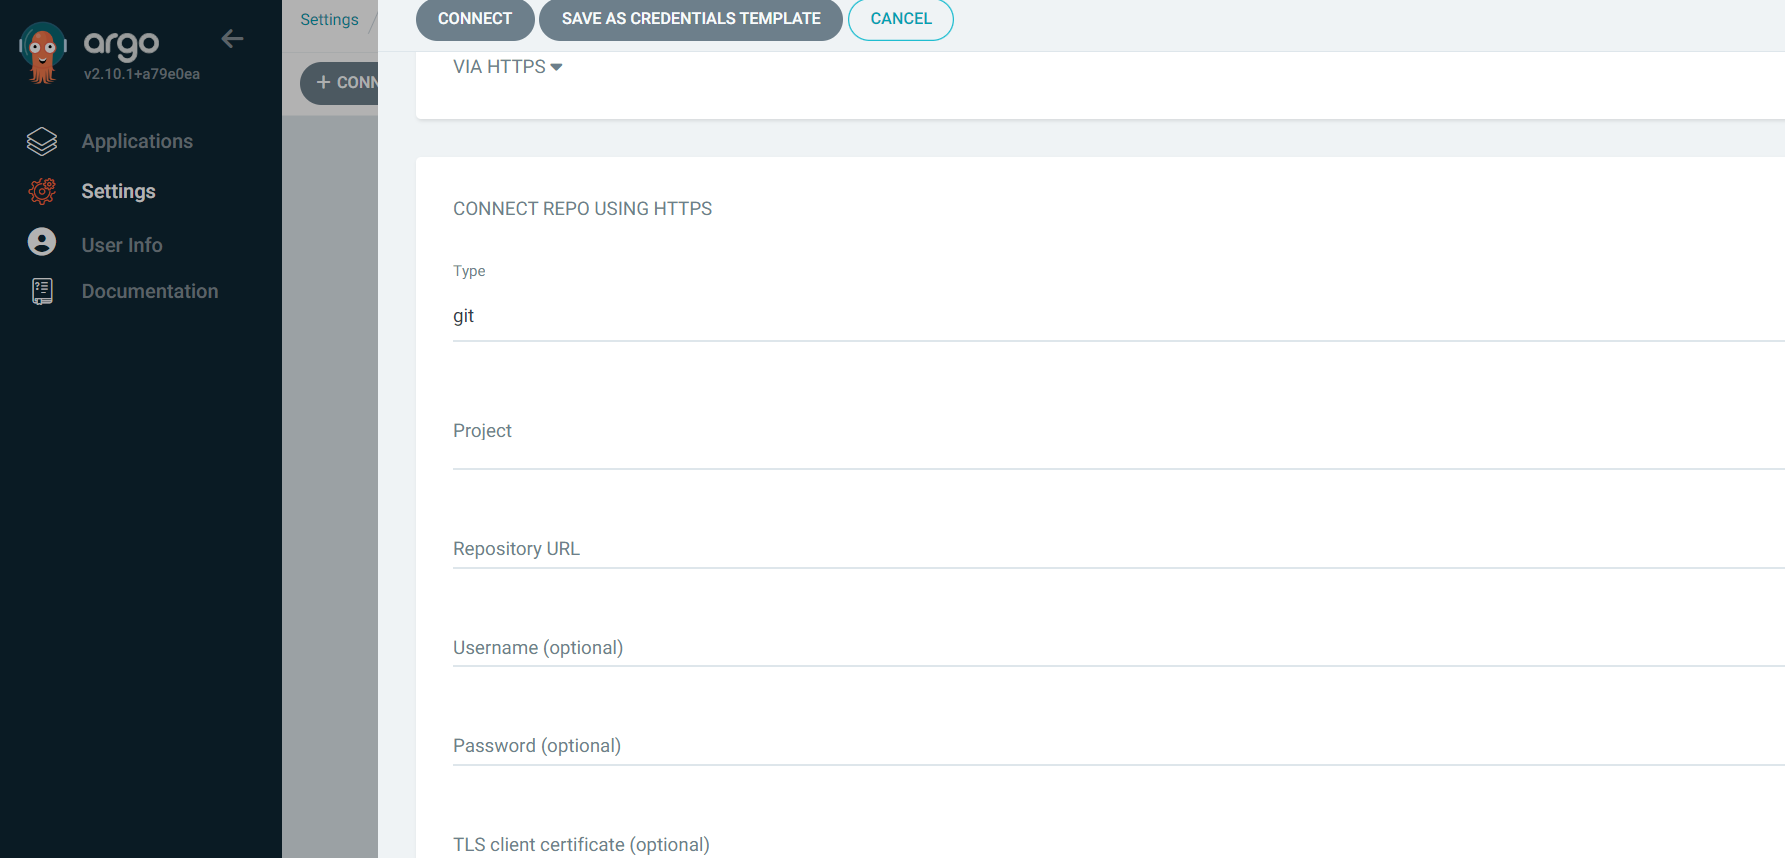
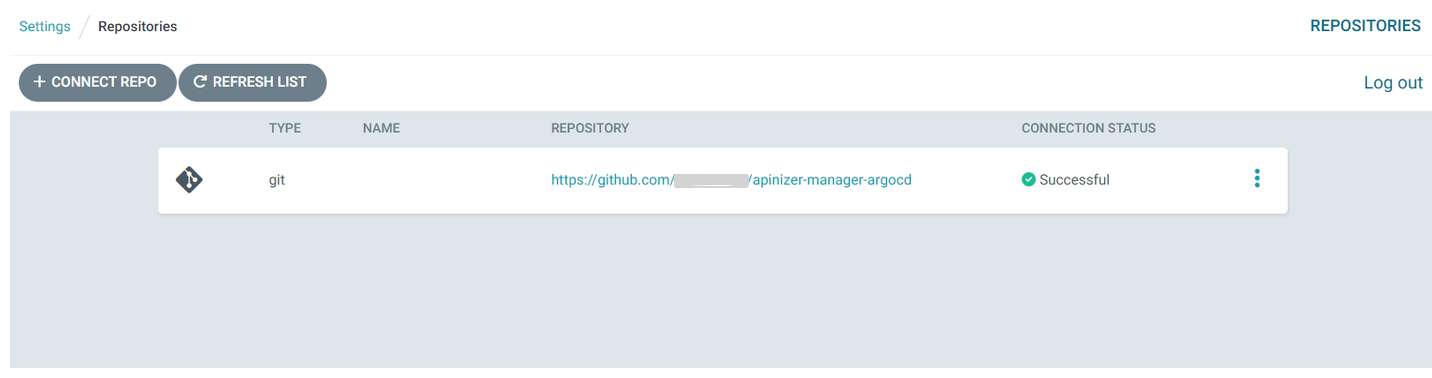
After adding YAML files to the GitHub repository, you need to add this repository address from the ArgoCD interface.
There are many connection methods. For the HTTPS method, you need to fill in the following fields.
Decode and display the password encoded in Base64 format:
```bash theme={null}
kubectl -n argocd get secret argocd-initial-admin-secret -o jsonpath="{.data.password}" | base64 -d; echo
```
The default username is **admin**. You can log in to the ArgoCD interface using this information.
## Git Installation and Repository Configuration
Perform Git installation and configure the repository to push deployment files to GitHub.
Install the Git package:
```bash theme={null}
sudo apt update
sudo apt install git
git --version
```
Git may ask you for user information. Configure using the following commands:
```bash theme={null}
git config --global user.email "you@example.com"
git config --global user.name "Your Name"
```
Create a repository on GitHub to store your deployment files.
Add it to the git system as a remote address to be able to add files to the GitHub repository.
**Authentication Error Solution**
If you get an "Authentication failed" error when using git, follow these steps:
1. Log in to your GitHub account
2. Click your profile picture in the top right corner and select "Settings"
3. Go to "Personal access tokens" under "Developer settings" from the left menu
4. Click "Generate new token" after "Token"
5. Give necessary permissions
6. Go to the bottom of the page and click "Generate token"
7. **Copy the token value and save it to a safe place. You cannot view this value again.**
Configure the remote address with the token:
```bash theme={null}
git remote set-url origin https://:@
```
Example: `https://test:ghp_xxxx@github.com/test/test.git`
Add the Apinizer Manager deployment yaml file to the git version system and push it to the remote repository:
```bash theme={null}
git init
git add apinizer-api-manager-deployment.yaml
git commit -m "manager add"
git remote add origin
git push -u origin master
```
## Adding Git Repository to ArgoCD
After adding YAML files to the GitHub repository, you need to add this repository address from the ArgoCD interface.
There are many connection methods. For the HTTPS method, you need to fill in the following fields.
 **Important**
If **HTTPS** is selected as the connection method, write the **token** value you created in the previous step in the **password** section.
**Important**
If **HTTPS** is selected as the connection method, write the **token** value you created in the previous step in the **password** section.
 ## Creating ArgoCD Application
You can automate your deployment processes by creating an application on ArgoCD.
Give a name for the application.
If you want ArgoCD to automatically check for updates in the repository, set the **SYNC POLICY** option to **Automatic**.
When Automatic sync policy is active, ArgoCD checks every 3 minutes on your behalf.
## Creating ArgoCD Application
You can automate your deployment processes by creating an application on ArgoCD.
Give a name for the application.
If you want ArgoCD to automatically check for updates in the repository, set the **SYNC POLICY** option to **Automatic**.
When Automatic sync policy is active, ArgoCD checks every 3 minutes on your behalf.
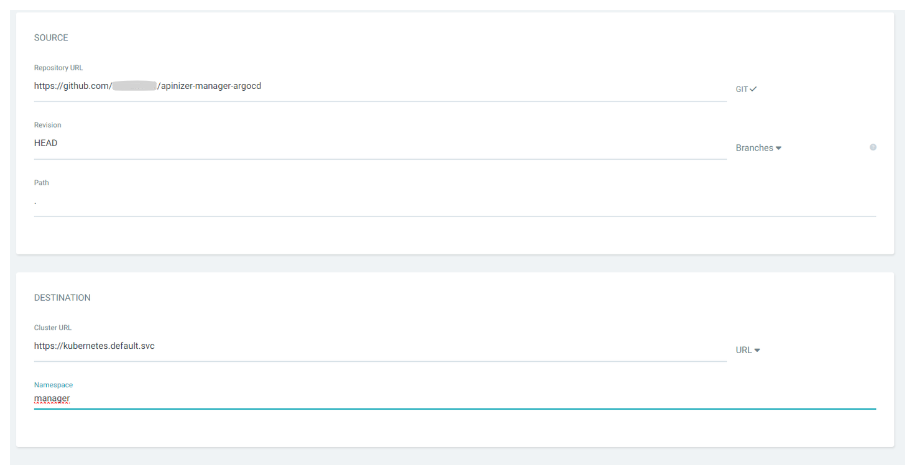
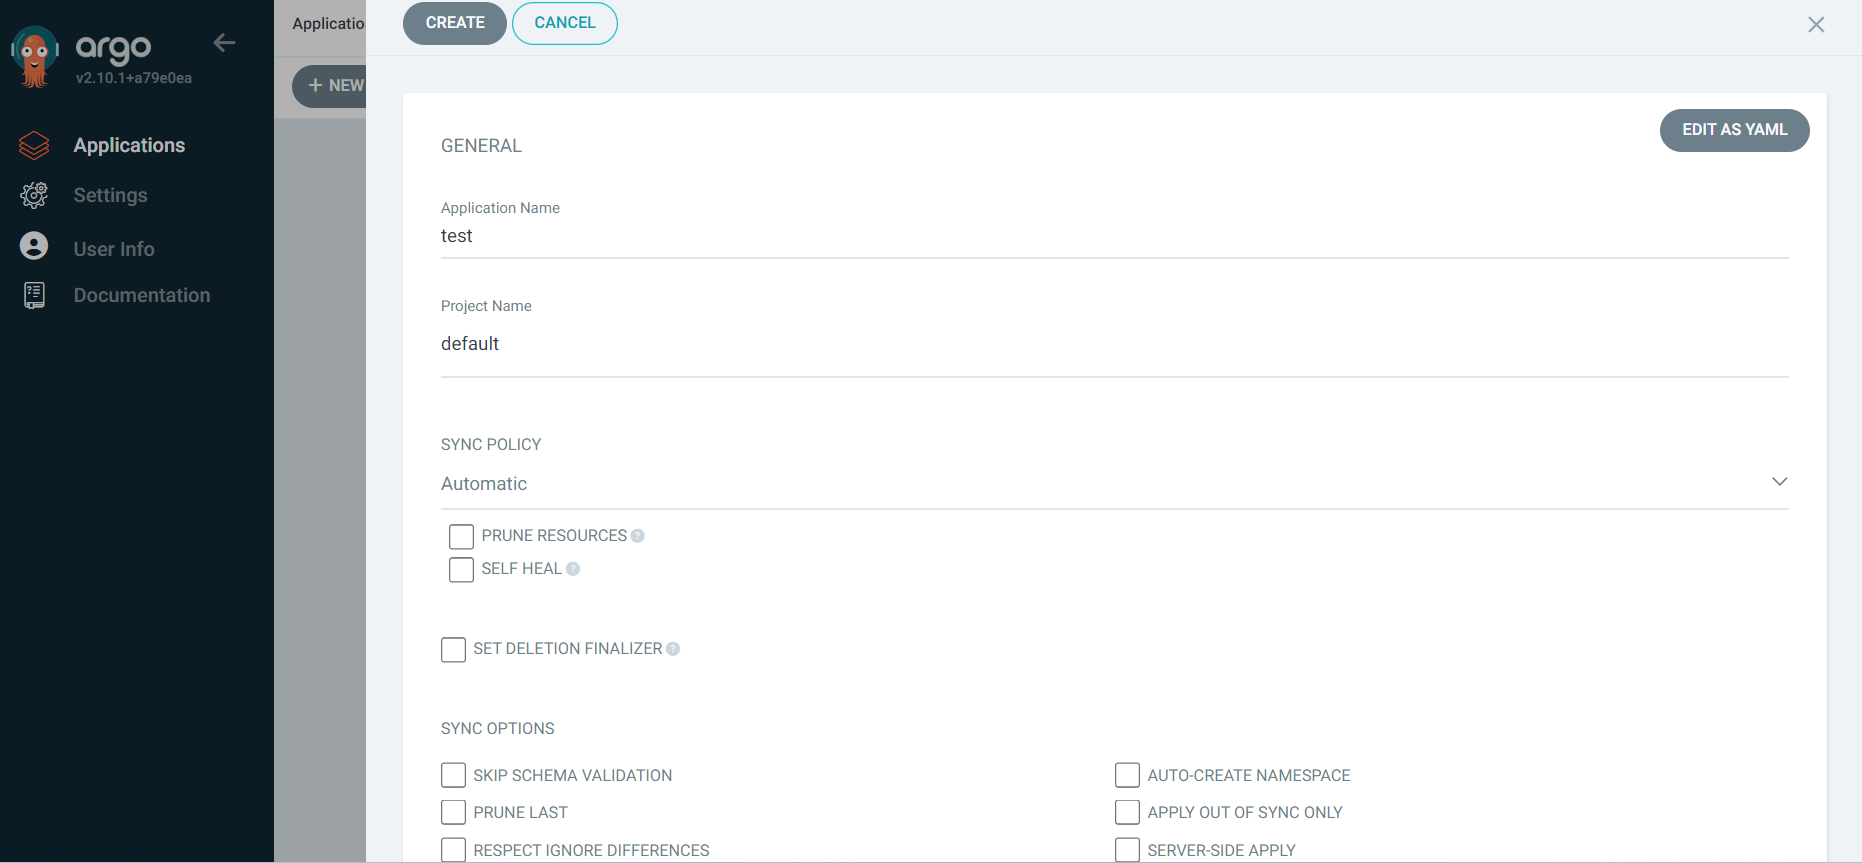 When you need a namespace that has not been created before in your Kubernetes Cluster, ArgoCD creates a namespace in your Kubernetes cluster with the **AUTO-CREATE NAMESPACE** option.
 ### Application Management
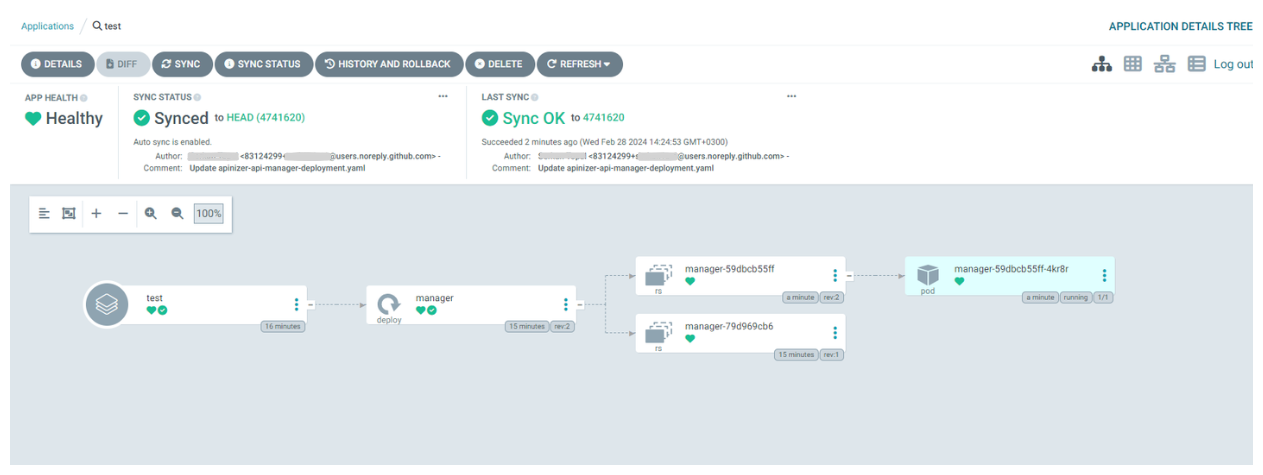
ArgoCD visually shows you deployments, replica sets, and pods. You can view real-time log data of pods.
### Application Management
ArgoCD visually shows you deployments, replica sets, and pods. You can view real-time log data of pods.
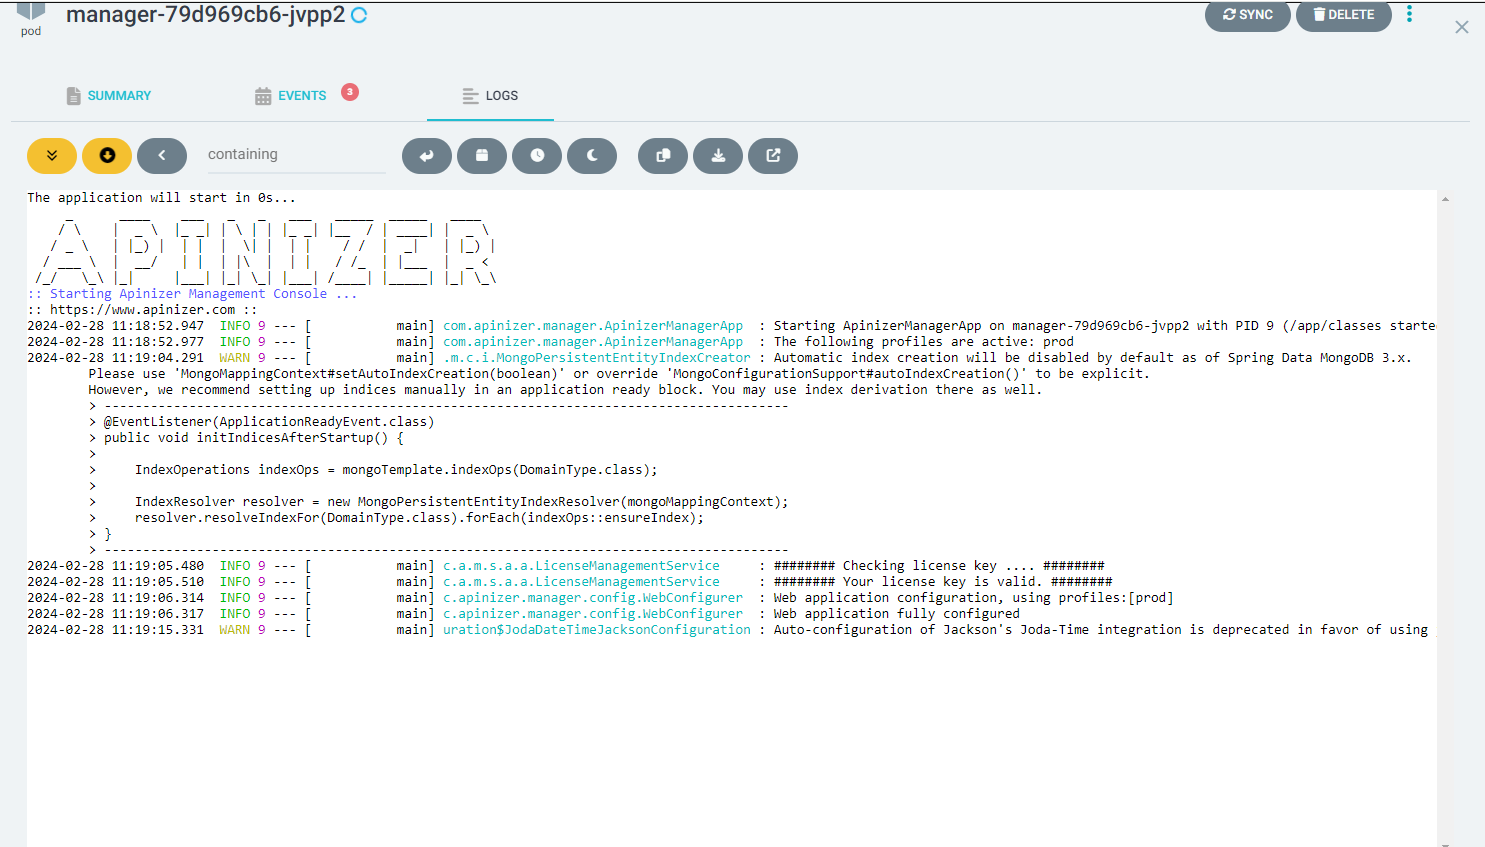 **Manual Synchronization:** You can manually synchronize a change made in your YAML file by pressing the **SYNC** button.
**Automatic Synchronization:** ArgoCD, which automatically detects every change made in YAML files, automates your deploy processes by updating your pods. This way, while your deploy processes occur more efficiently and quickly, you can prevent manual interventions and errors.
**Manual Synchronization:** You can manually synchronize a change made in your YAML file by pressing the **SYNC** button.
**Automatic Synchronization:** ArgoCD, which automatically detects every change made in YAML files, automates your deploy processes by updating your pods. This way, while your deploy processes occur more efficiently and quickly, you can prevent manual interventions and errors.