

This document describes the necessary steps for installing Apinizer on Amazon EKS (Elastic Kubernetes Service). In the first 6 sections, AWS EKS installation, resource creation and usage steps are described step by step from the beginning. If there is a ready EKS cluster on AWS, you can start directly from section 7.
1. Introduction
Minimum System Requirements
For Apinizer installation on AWS EKS Cluster, the total CPU Cores of Compute Nodes to be defined in the Node Group must be at least 6 cores.t3.medium Example
If t3.medium type server is selected, 3 are required.
t3.xlarge Example
If you add t3.xlarge type server, 2 will be sufficient.
What is AWS EKS (Elastic Kubernetes Service)?
Amazon Elastic Kubernetes Service (Amazon EKS) is a managed service you can use to run Kubernetes on AWS without needing to install, operate, and maintain your own Kubernetes Control Plane (Master) or nodes (Worker Nodes). Kubernetes is an open-source system for automating deployment, scaling, and management of containerized applications.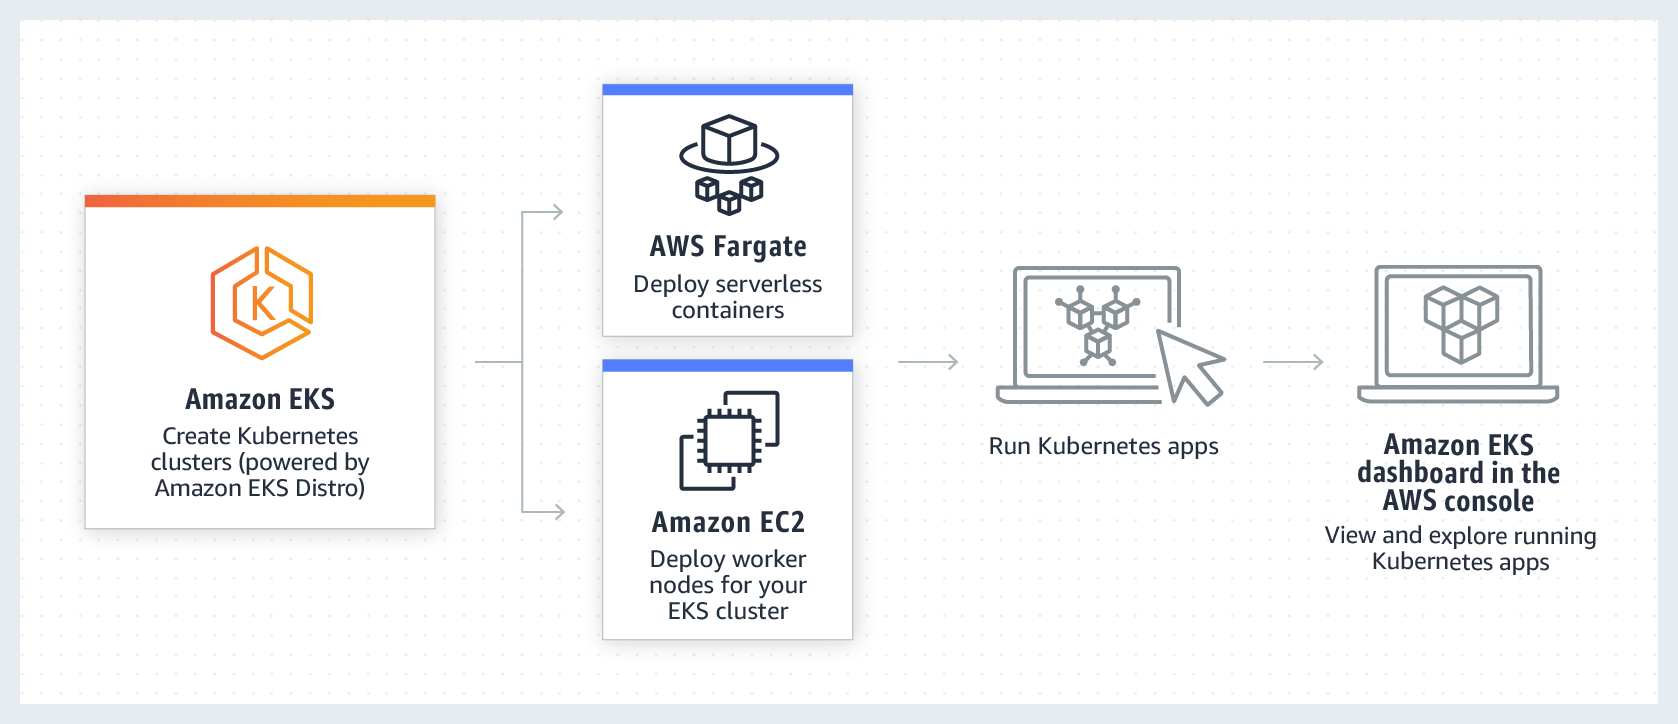
2. Configure EKS VPC and Subnets
What is AWS VPC and Subnet?
Amazon AWS VPC (Virtual Private Cloud) is a private virtual network within AWS. In other words, it can be called AWS’s network infrastructure component. It is an advanced virtual network infrastructure developed by Amazon AWS for all components to be created on AWS to communicate with each other. Within VPC, we can create networks, subnets, gateways specific to our own use. Connections between different networks and subnets can be provided with Route tables belonging to them.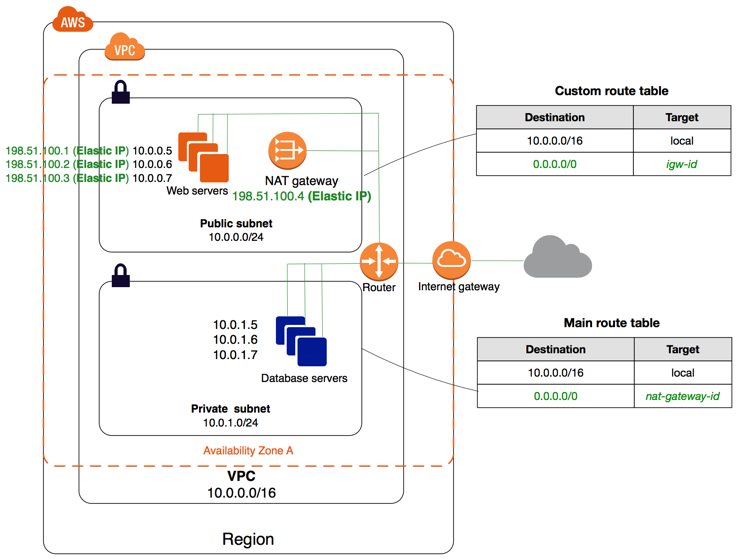
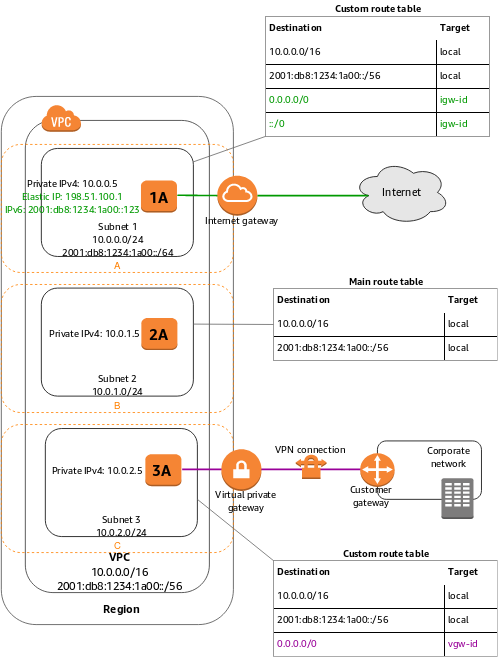
Creating and Configuring AWS VPC
By following the steps below, the network structure suitable for EKS will be installed automatically. For details: AWS CloudFormation Console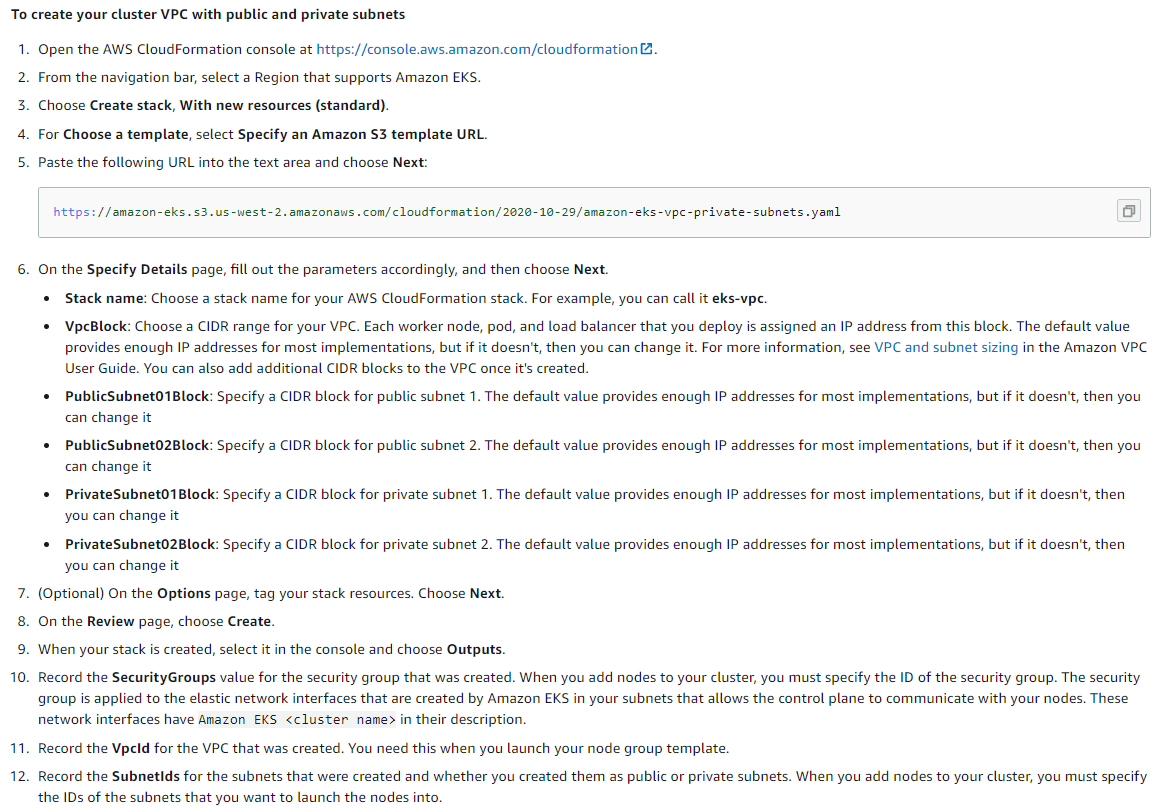
3. Configure EKS IAM Roles
What is AWS Identity and Access Management (IAM) Role?
Using AWS Identity and Access Management (IAM), you can determine who can access AWS services and resources under what conditions. IAM is a feature of your AWS account and is provided at no additional charge. IAM is not something running like an instance or a database in terms of structure, but entirely manages permissions for us, managing all users who have access to the AWS account used, from who can access which service in what way. IAM manages 6 main topics in terms of main concept:- Users
- Groups
- Roles
- IAM Access Policies
- API Keys
- Password policy, MFA
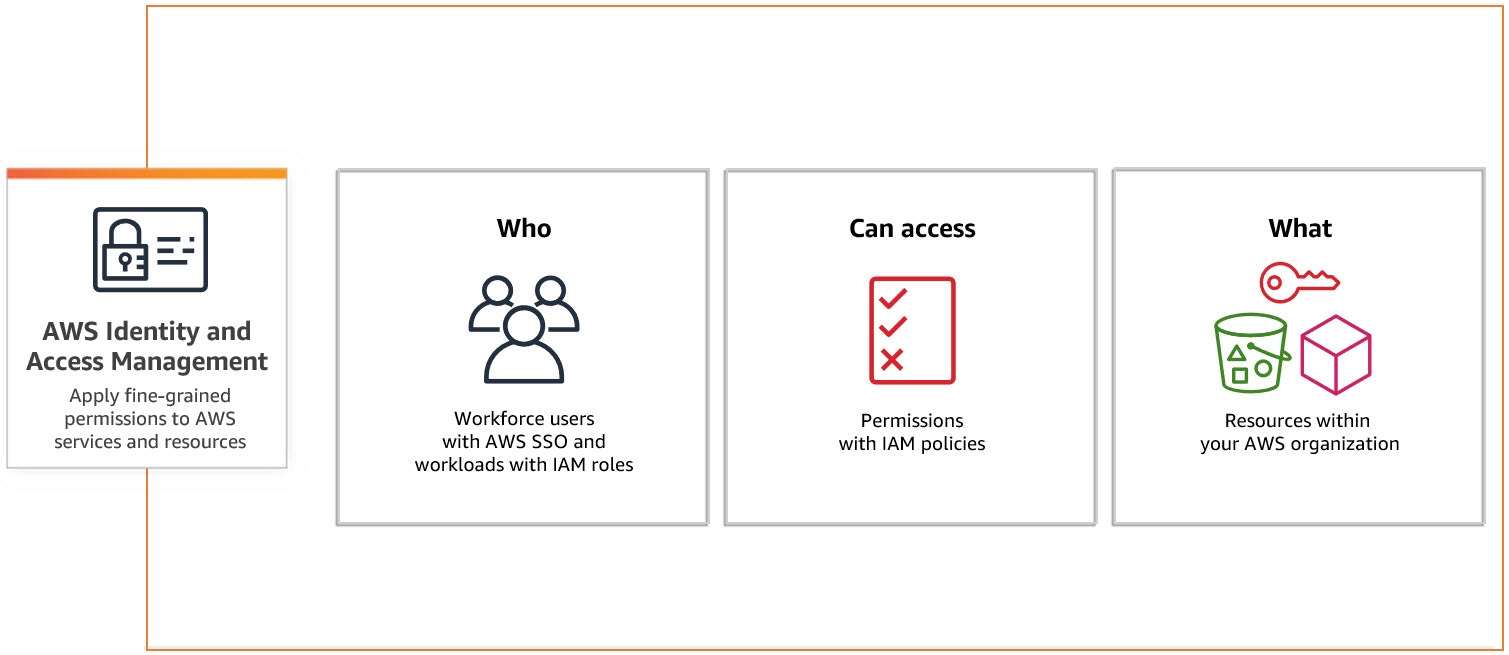
For detailed information: What is AWS IAM?
Creating and Configuring AWS IAM
Go to the Roles page from the left menu and create a new Role.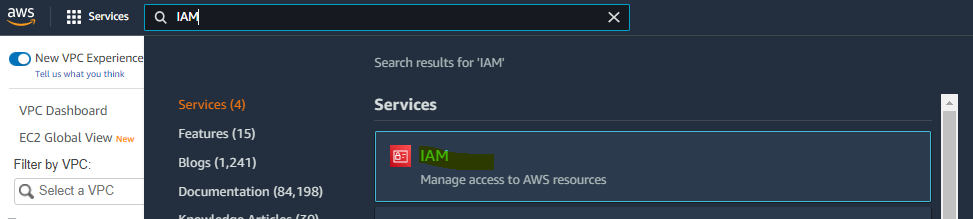
1. Creating the Role to be Used by EKS Cluster
To create a role, the operations in the given images should be performed in order.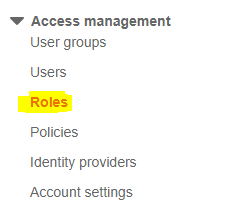
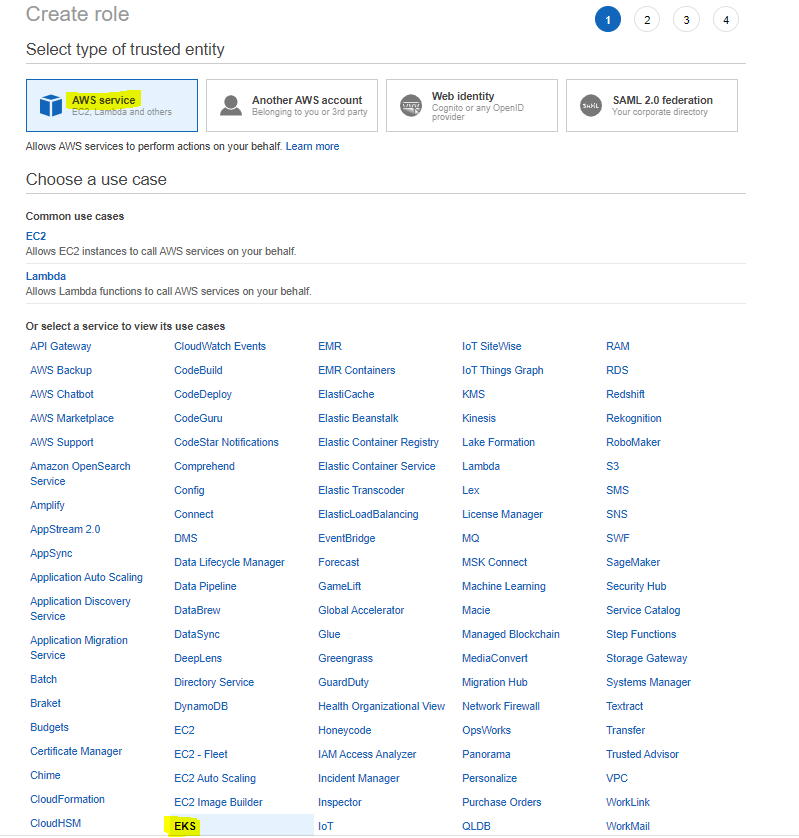
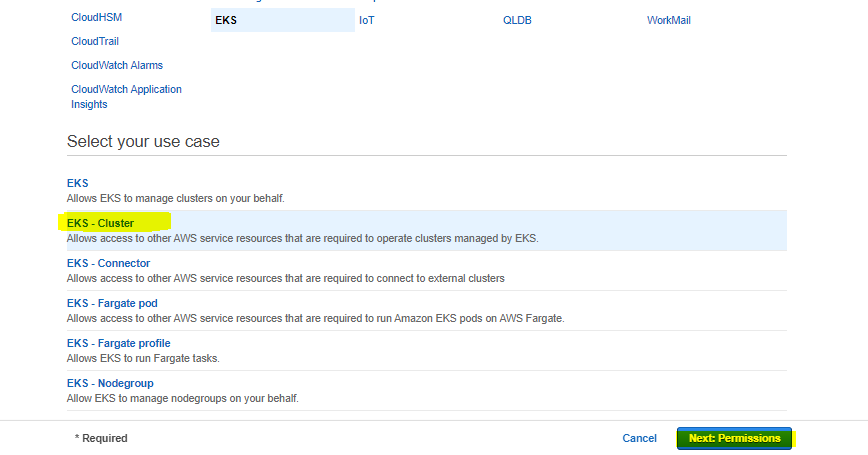
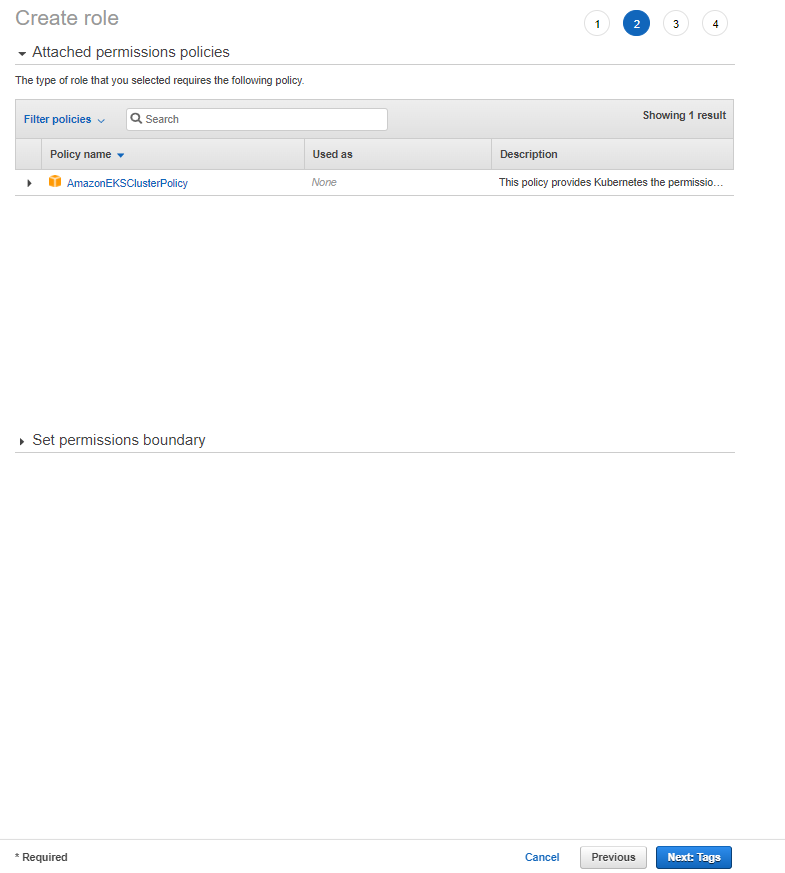
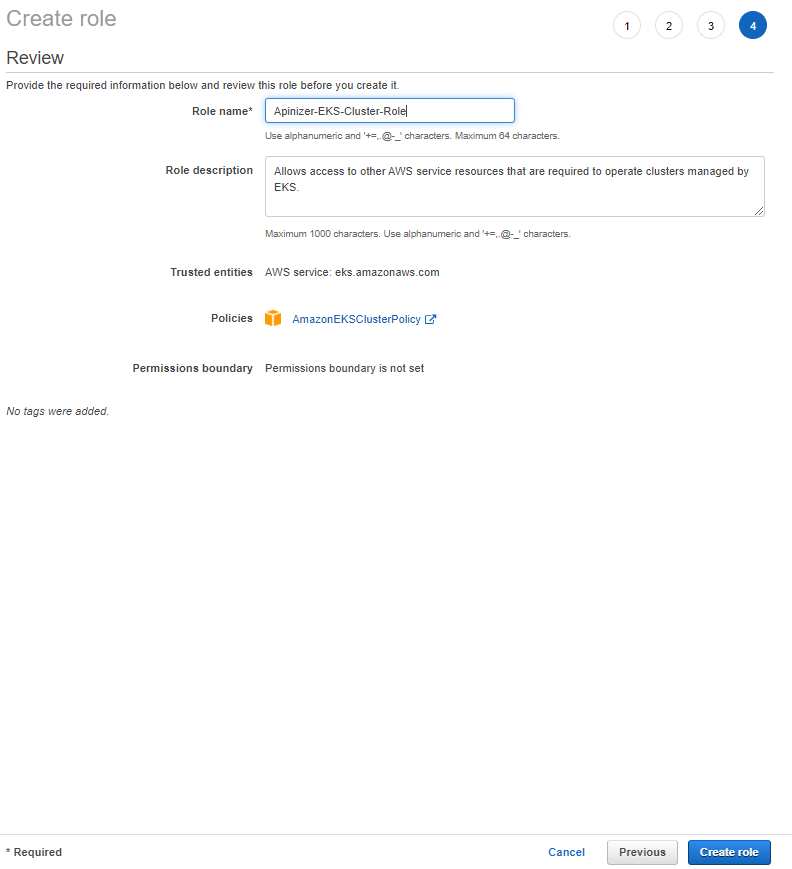
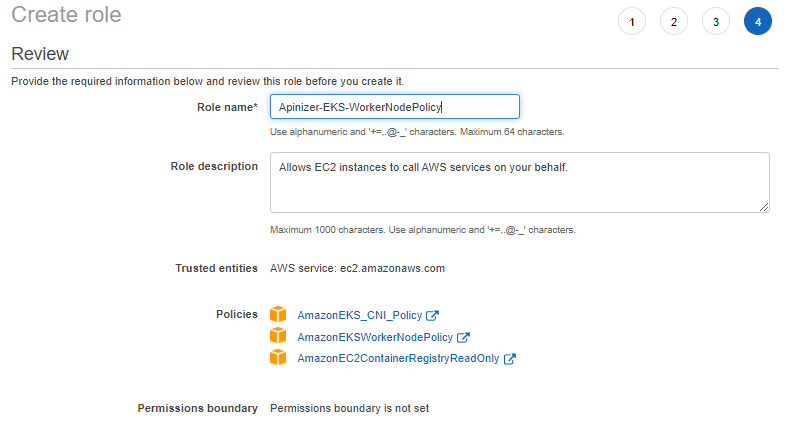
2. Creating the Role to be Used by EKS Cluster Worker Node Groups


4. Installing EKS Master Node
Creating and Configuring AWS EKS (Elastic Kubernetes Service)
After completing the above steps, AWS EKS installation can be started. Continue the process by typing EKS in the search section.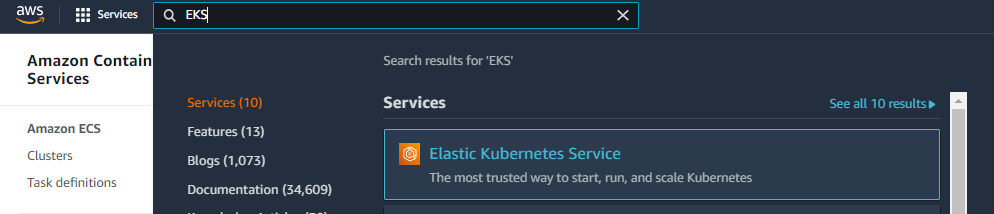
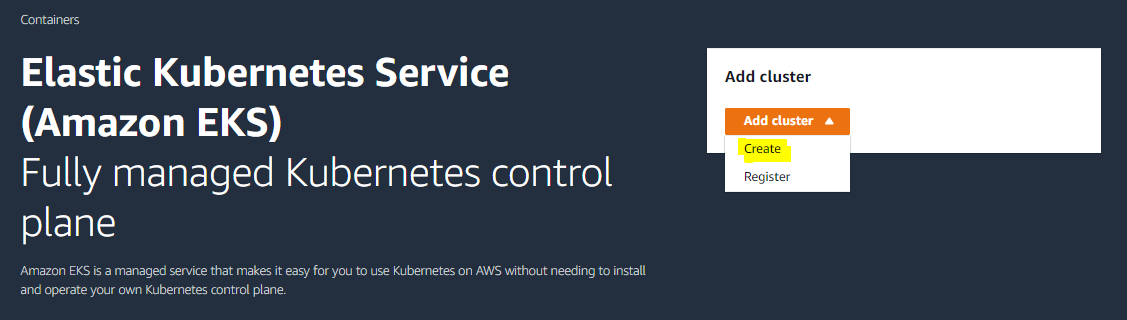
1
Configure cluster
Select cluster name, Kubernetes version and IAM role.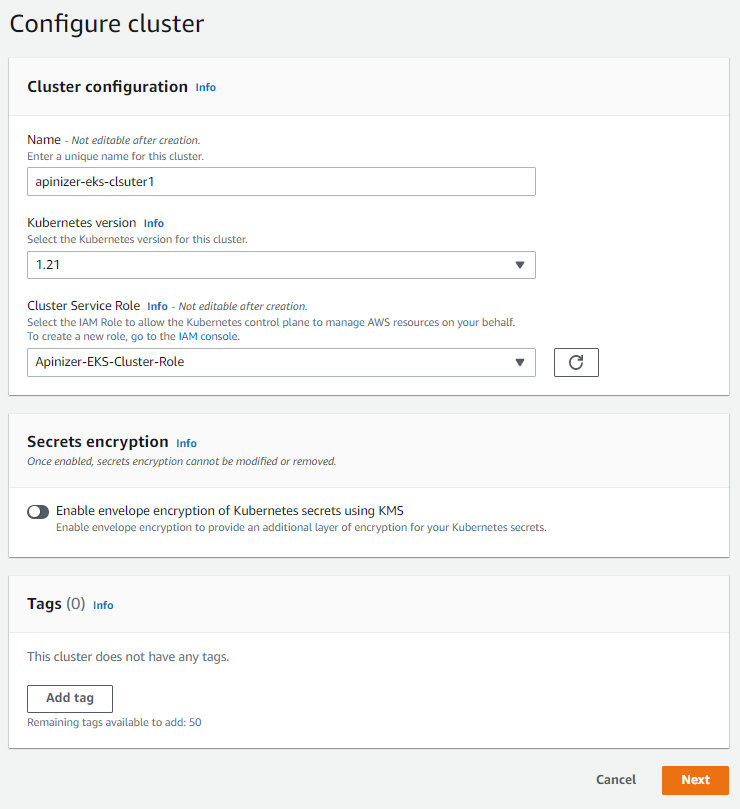
2
Specify network communication
Select VPC and subnets. It is recommended to select at least 2 subnets for EKS.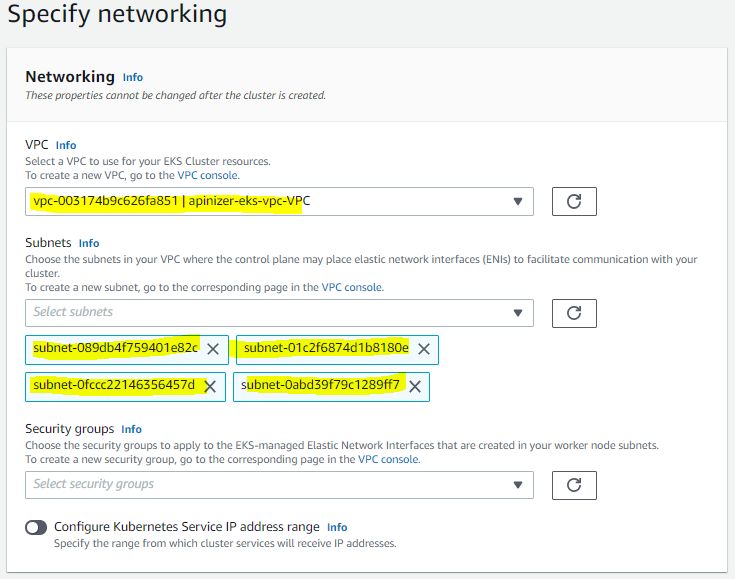
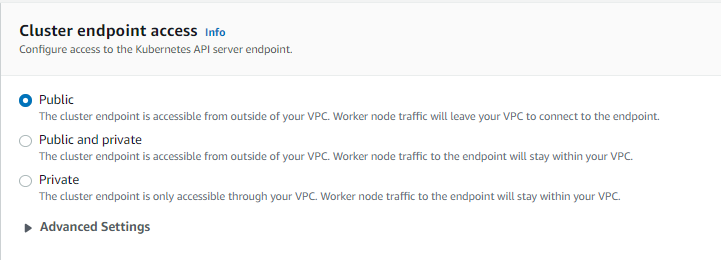
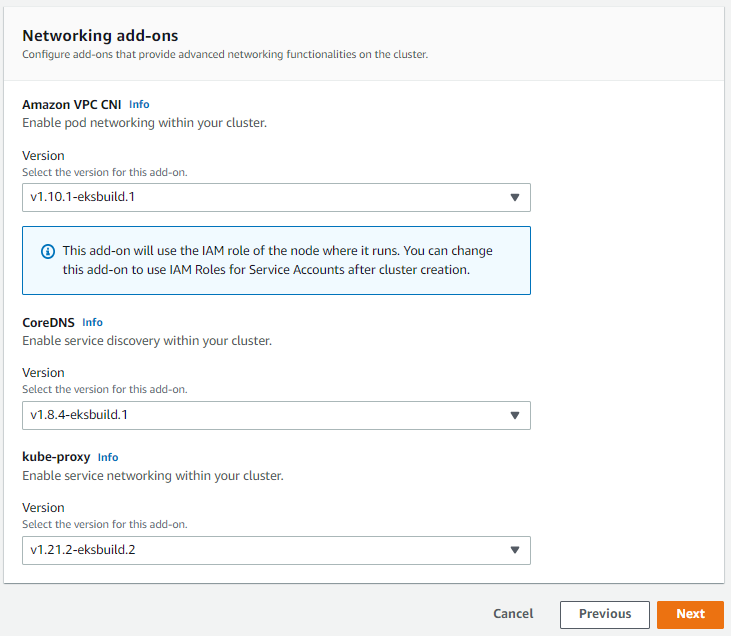
3
Configure logging
Select CloudWatch Log Group or create a new log group. This section can be configured as desired.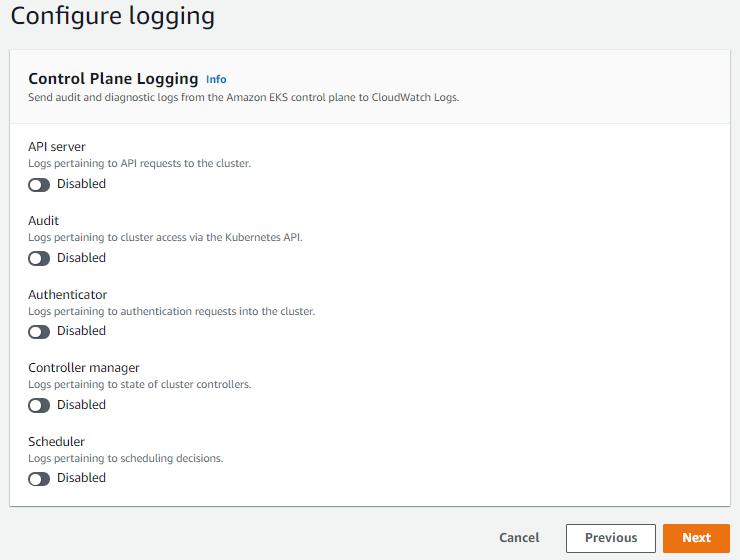
4
Review and create
Finally, the defined information is displayed. At this stage, no error is seen. Start creating the cluster by saying Create.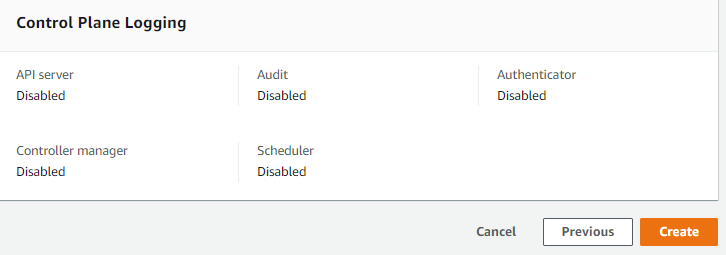
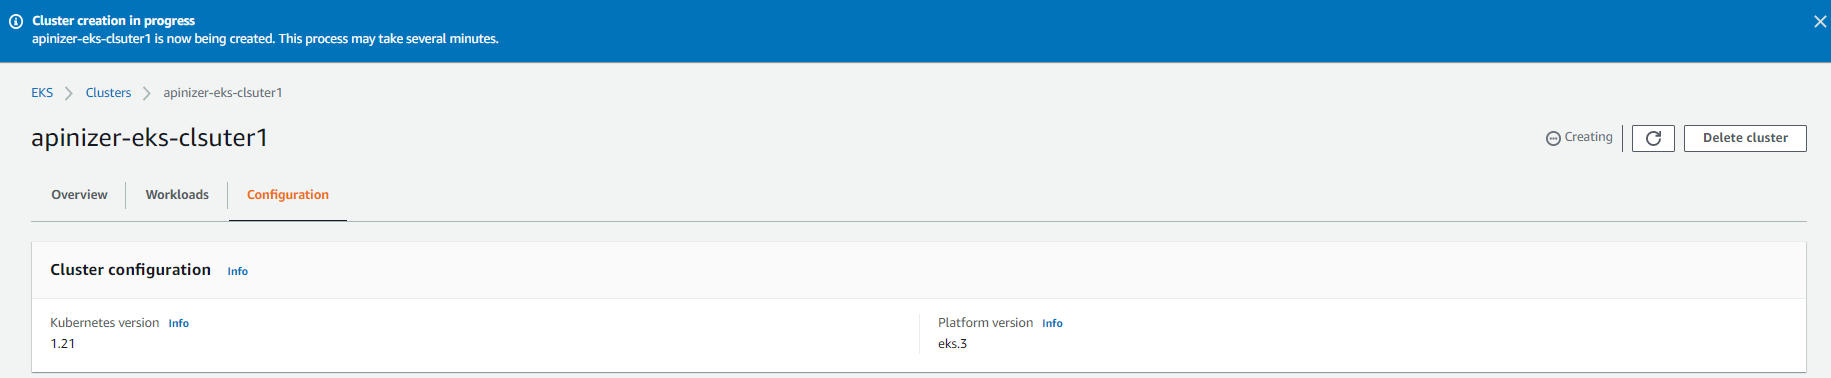
The EKS Cluster is being created. This process takes approximately 5 minutes. While this process continues, we can download and configure the necessary tools to access and manage EKS from our Client computer.
5. Installing and Configuring AWS CLI and kubectl
Download the necessary tools from the addresses below. Since Windows will be used as the Client computer in this document, versions suitable for Windows are downloaded.AWS CLI Installation
After installing the downloaded .msi tool, configure it according to your Cluster information as follows. For details: AWS CLI Getting Started Guide1
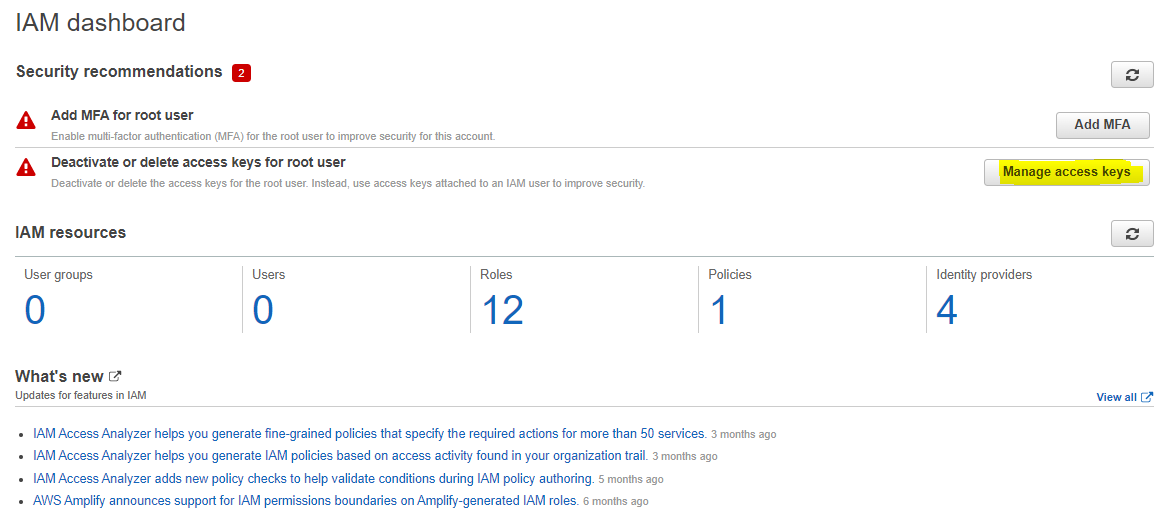
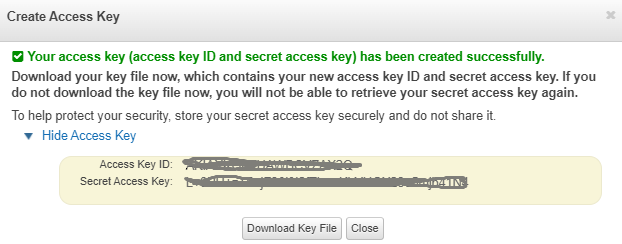
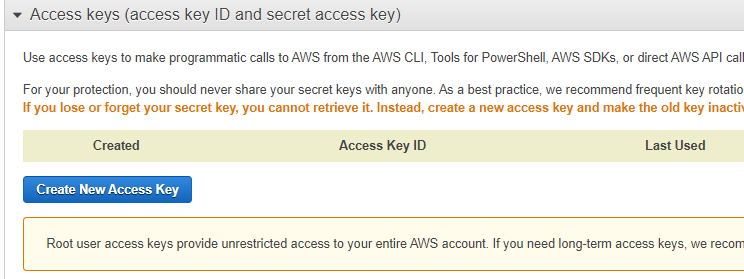
Getting credential information by going to IAM service
Access Key and Secret Key information are obtained from IAM Console.
2
Making AWS configuration in Windows CLI

KUBECTL Installation
Kubectl should be downloaded to match the cluster version. For details: AWS EKS kubectl Installation Guide1
Downloading KUBECTL
Kubectl is downloaded for Windows and added to PATH.
2
Defining necessary information to connect to EKS Cluster on Windows client machine
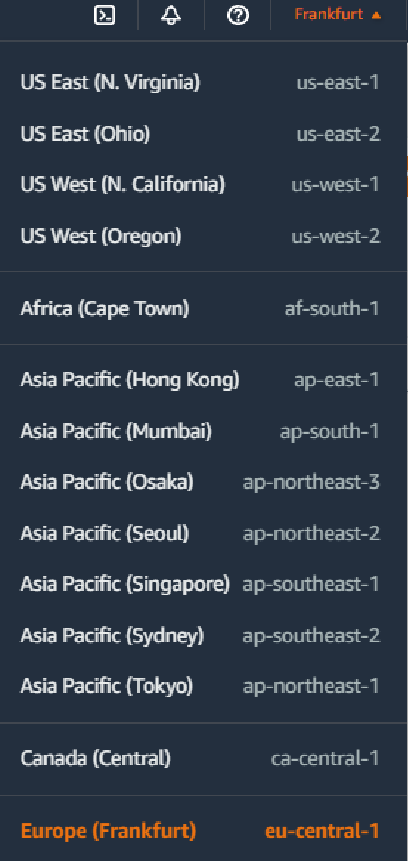
The section we need is eu-central-1.

6. Creating EKS Worker Nodes
This section describes the creation of Worker Nodes for EKS. Go to AWS Console again and apply the following steps.1
Creating Node Group
Create a new node group with the “Add Node Group” option from EKS Console.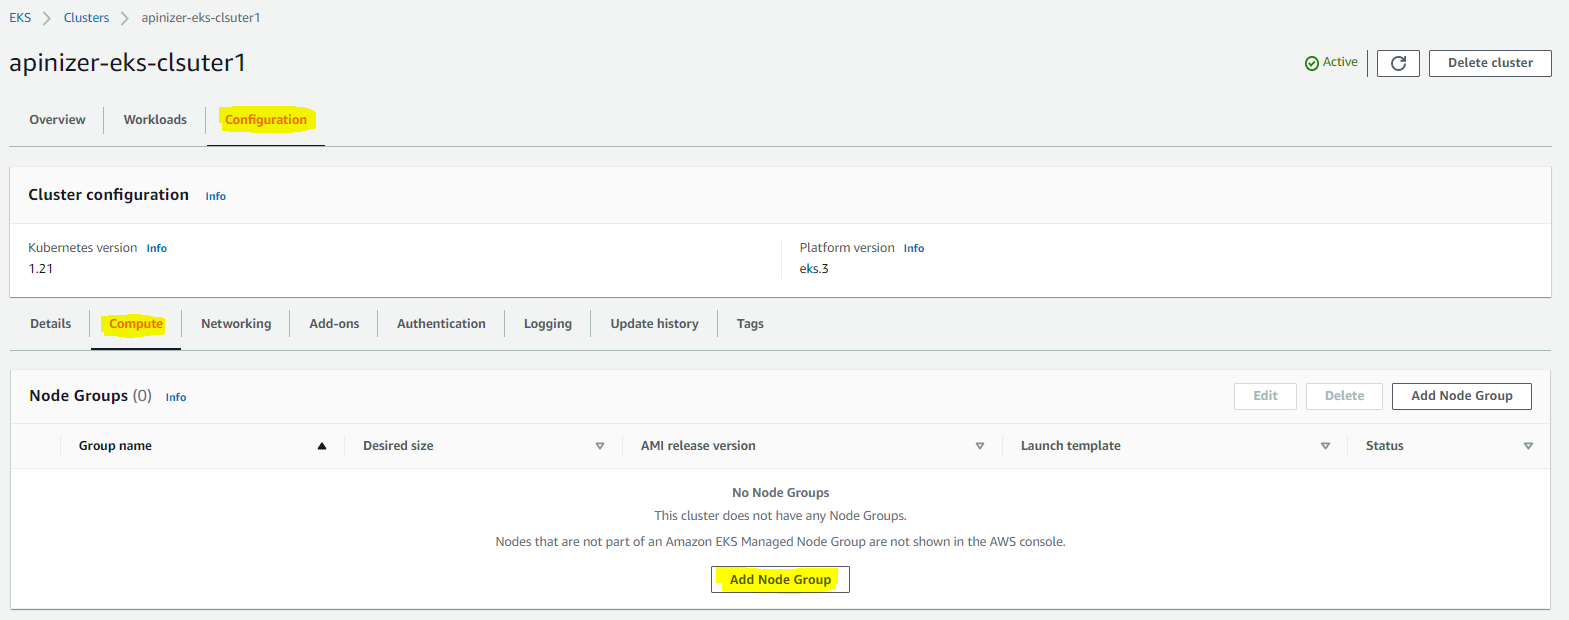
2
Node Group Configuration
For node group: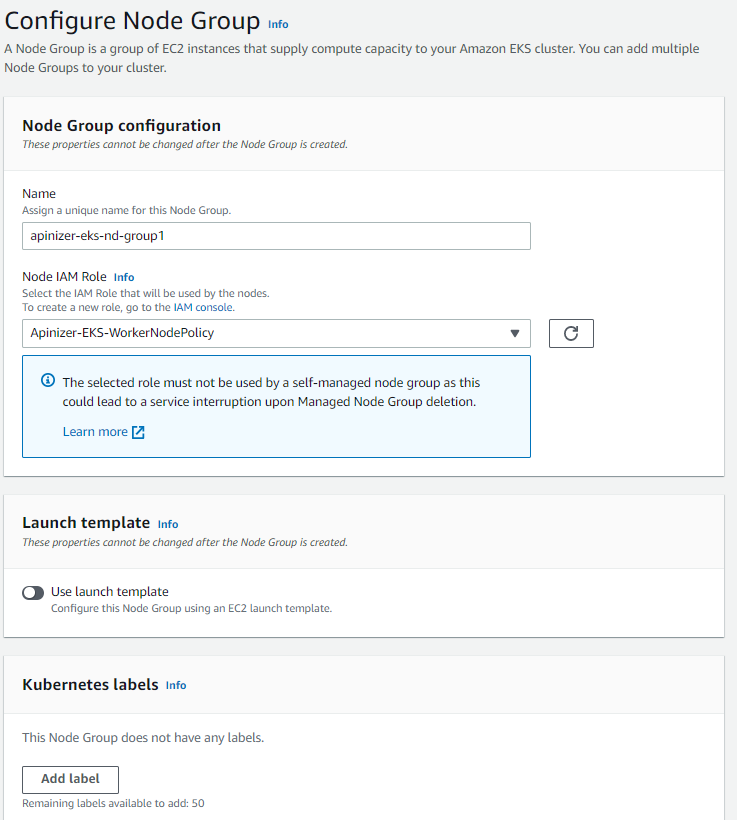

- Node group name
- IAM role (worker node role created earlier)
- Instance type (e.g.: t3.medium, t3.xlarge)
- Disk size
3
Setting Compute and Scaling Configuration
Minimum, maximum and desired node numbers are determined for node group.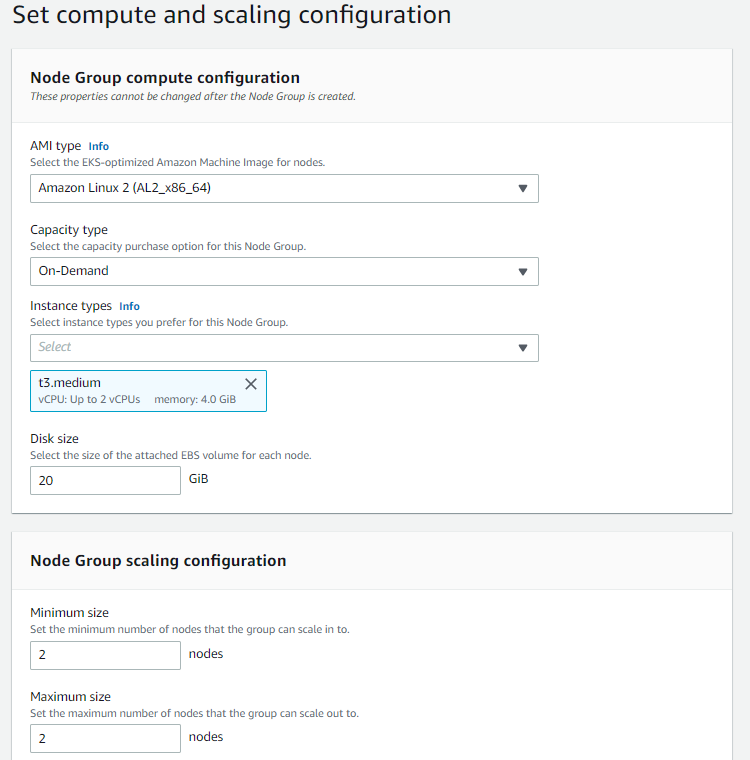
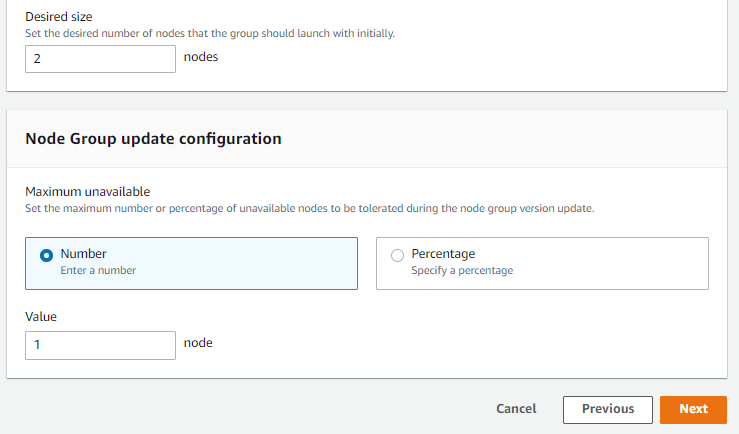
4
Specifying Network Communication
Subnets are selected and SSH key pair is determined.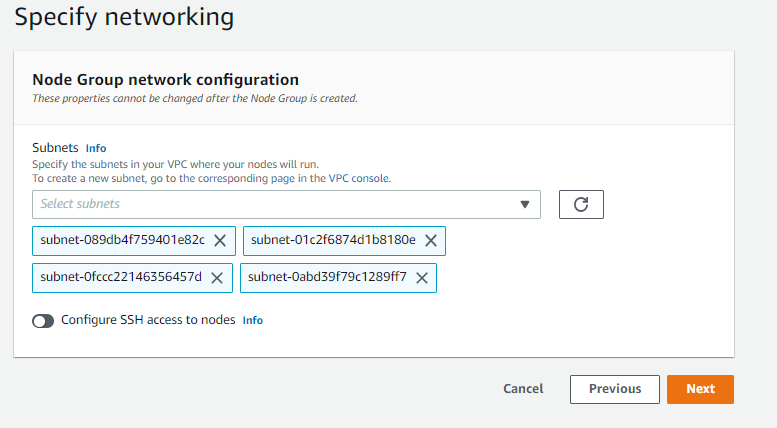
5
Review and Create
Finally, the defined information is displayed. If no error is seen at this stage, start creating the cluster by saying Create.


7. EKS Installation Test and Sample Deployment
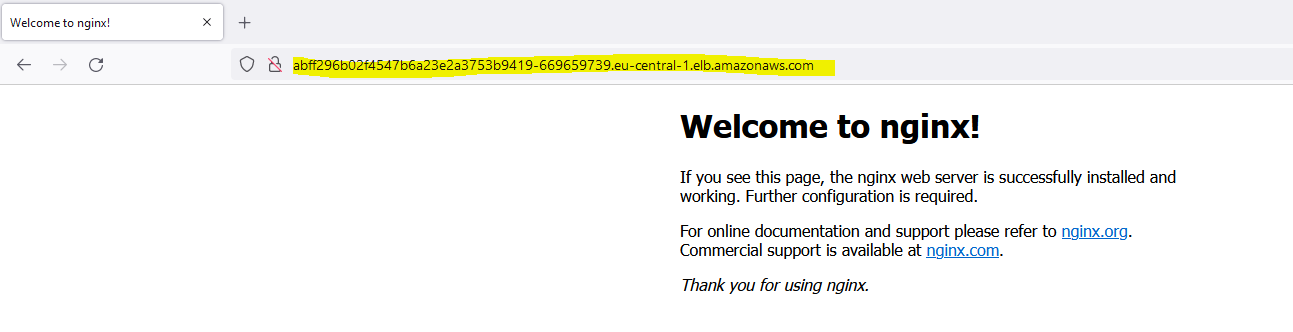
From this stage, checking the kubernetes cluster with kubectl whose installation and definitions were made earlier and testing it with a sample nginx application is described.AWS EKS Environment Test
Kubernetes cluster resources should be checked by following the commands below.
Loading and Testing Sample Application
In this section, loading the Nginx application defined in the .yaml file below as an example to the kubernetes cluster is described and tested after being exposed.8. Installing Apinizer on EKS
What is described under this heading describes the definition of opening Apinizer as a service, different from Apinizer installation documents.Apinizer Management Console installation
A .yaml file should be created for Apinizer and loaded to AWS EKS cluster. As stated in the Installation and Configuration document, Replicaset MongoDB and Elasticsearch are needed.- For MongoDB, go to MongoDB Atlas and create an account, and it can be used free of charge up to a limited DB size. Apinizer does not need a large database because it only keeps configuration definitions in MongoDB.
- Similarly, for Elasticsearch, Apinizer can be defined by going to Elastic Cloud and using an elastic service in the cloud environment.
Creating Access Service for Apinizer Management Console
After the installation is completed, a service is needed to access Apinizer Management Console. A service is created by following the steps below. It may take a minute or two to get the external IP sometimes.Apinizer Management Console Login
Login is made by writing the service access address in step 2 to the browser’s address bar. You can contact Apinizer support team for default username password.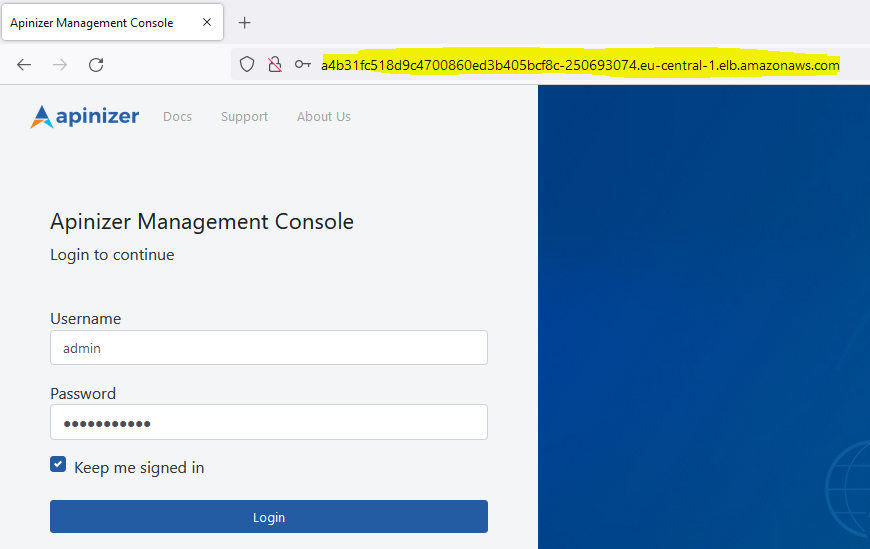
9. Apinizer Configurations
Defining Log Servers
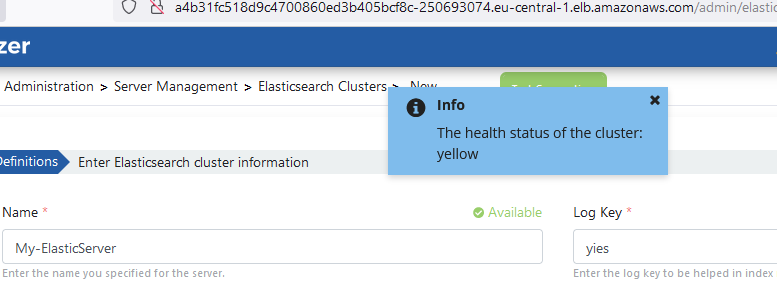
Apinizer stores API traffic and metric information in Elasticsearch database. To continue the installation process, Elasticsearch cluster definitions need to be made. Go to Administration → Server Management → Elasticsearch Clusters page from the menu in Apinizer Management Console application. The image containing Elasticsearch cluster definition settings is given below: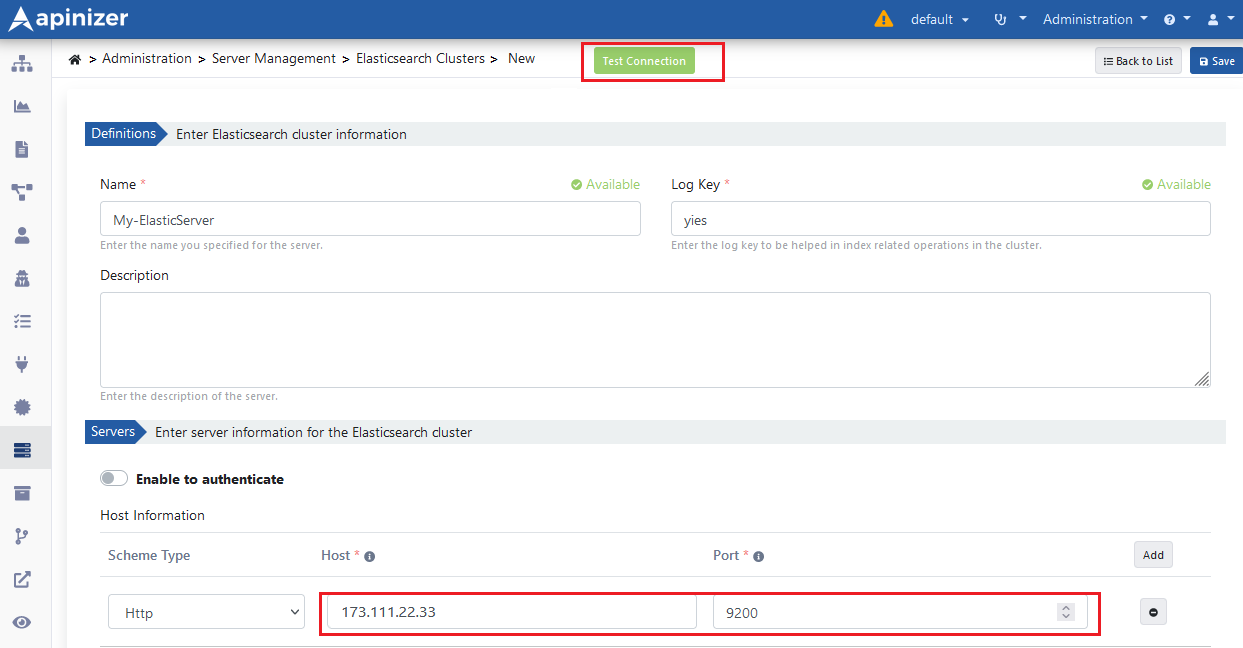
Environment Definition
At least one environment needs to be loaded (deploy) for an API Proxy to be accessible. Apinizer also allows an API Proxy to be loaded to multiple environments. Go to Administration → Server Management → Gateway Environment page from the menu in Apinizer Management Console application. The image containing environment definition settings is given below: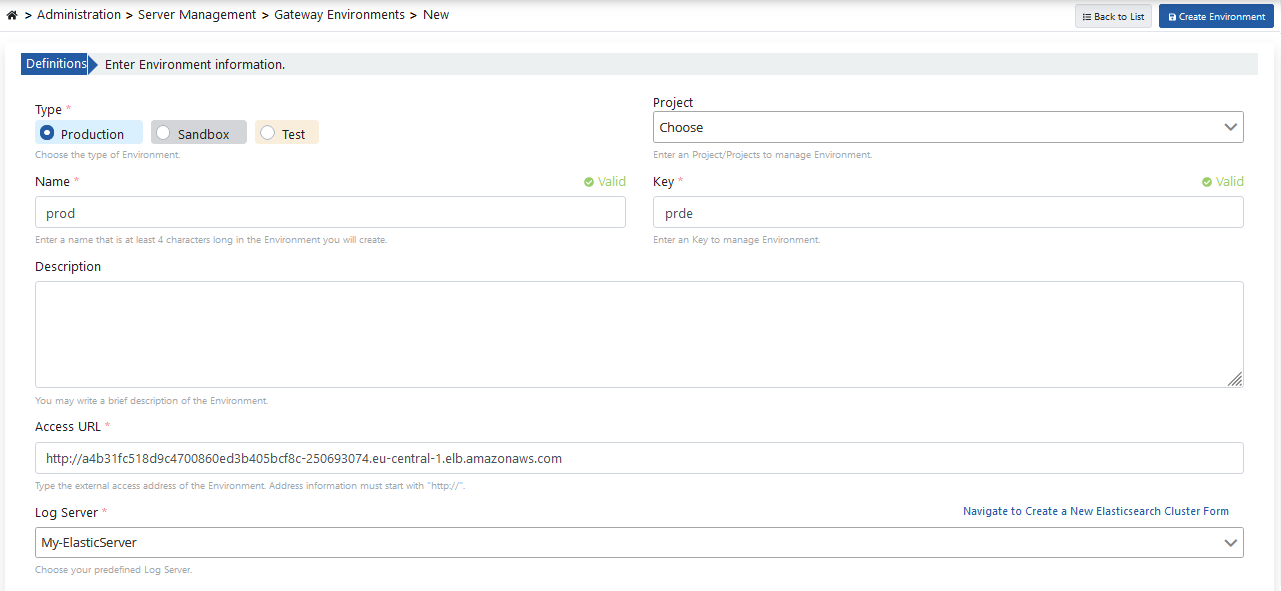


The environment loading process will be loaded to EKS in approximately 3 minutes.
For detailed information about Gateway Runtime environment definition and publishing operations, see Gateway Runtimes page.
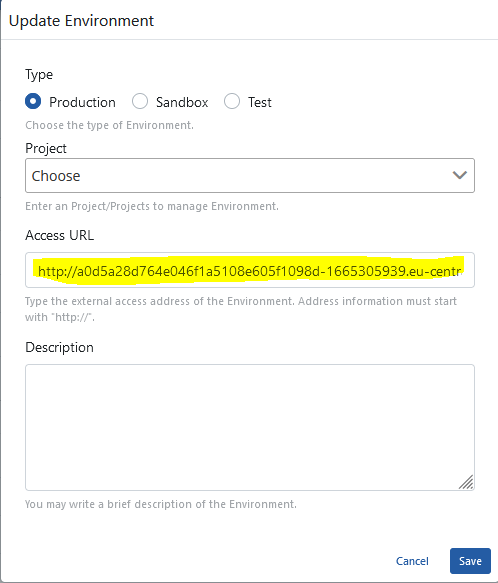
Opening Environment as Service
Finally, a service needs to be created to access APIs that will run in the Environment we published.
10. Publishing and Testing the First API in Apinizer
In the last step, opening an API to Apinizer as an API Proxy through a sample API definition file is described. The project where the API Proxy will be registered is selected from the navbar menu.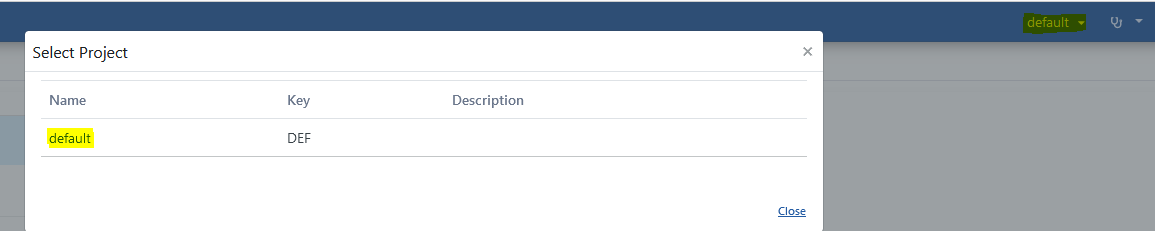

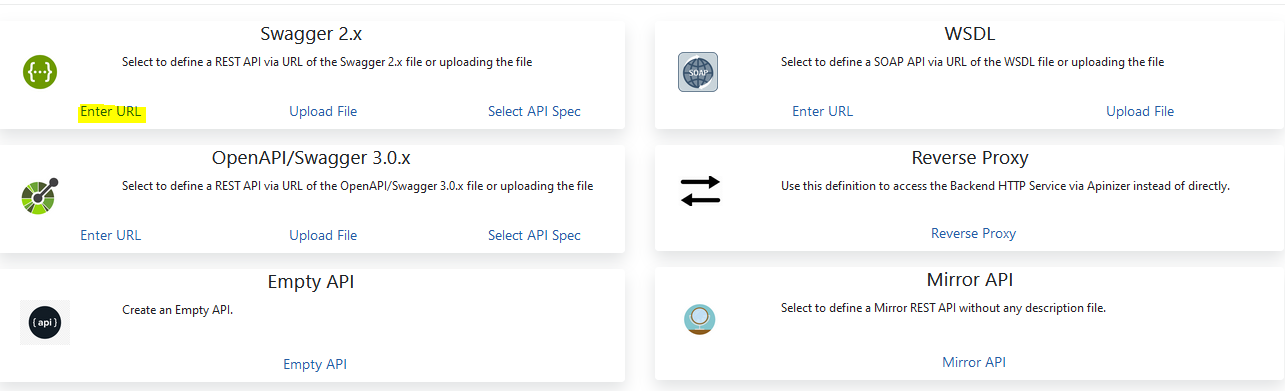

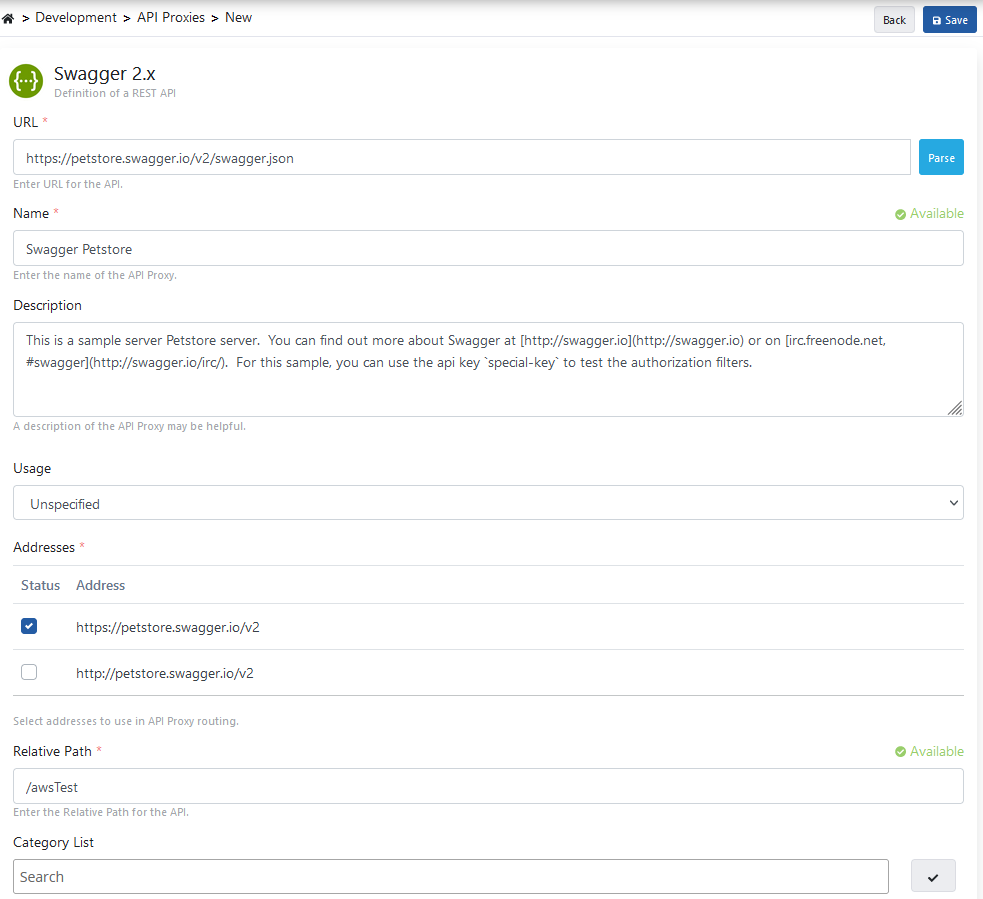
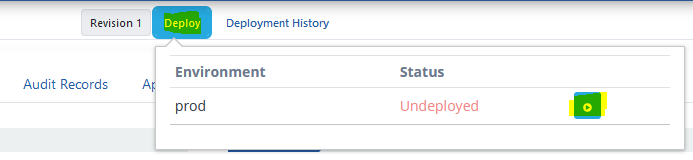

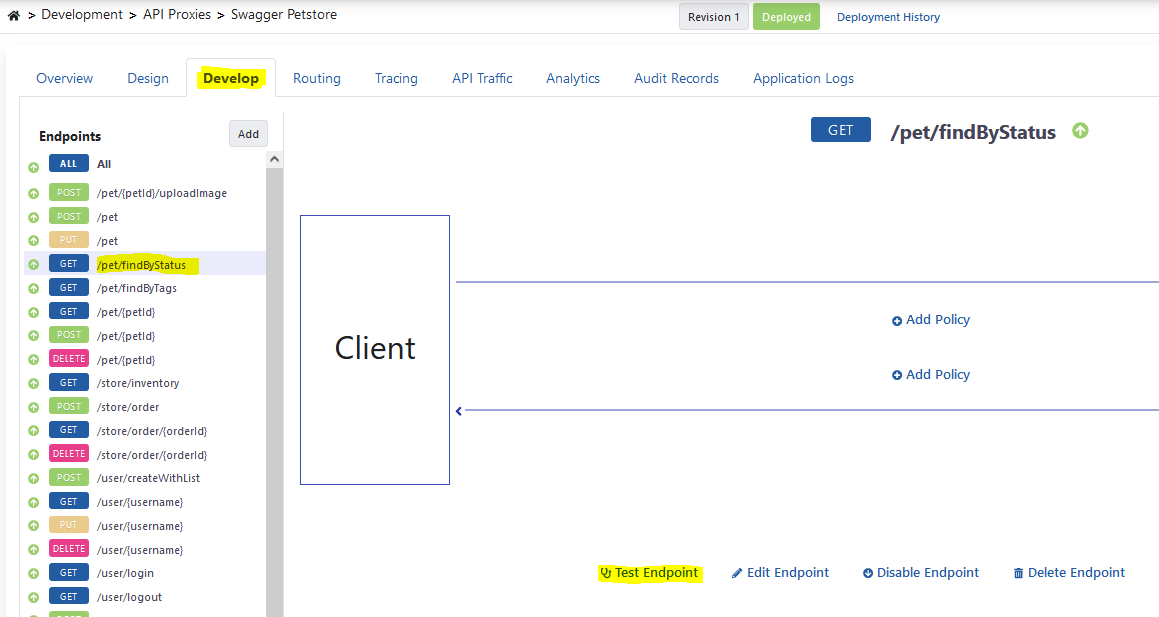
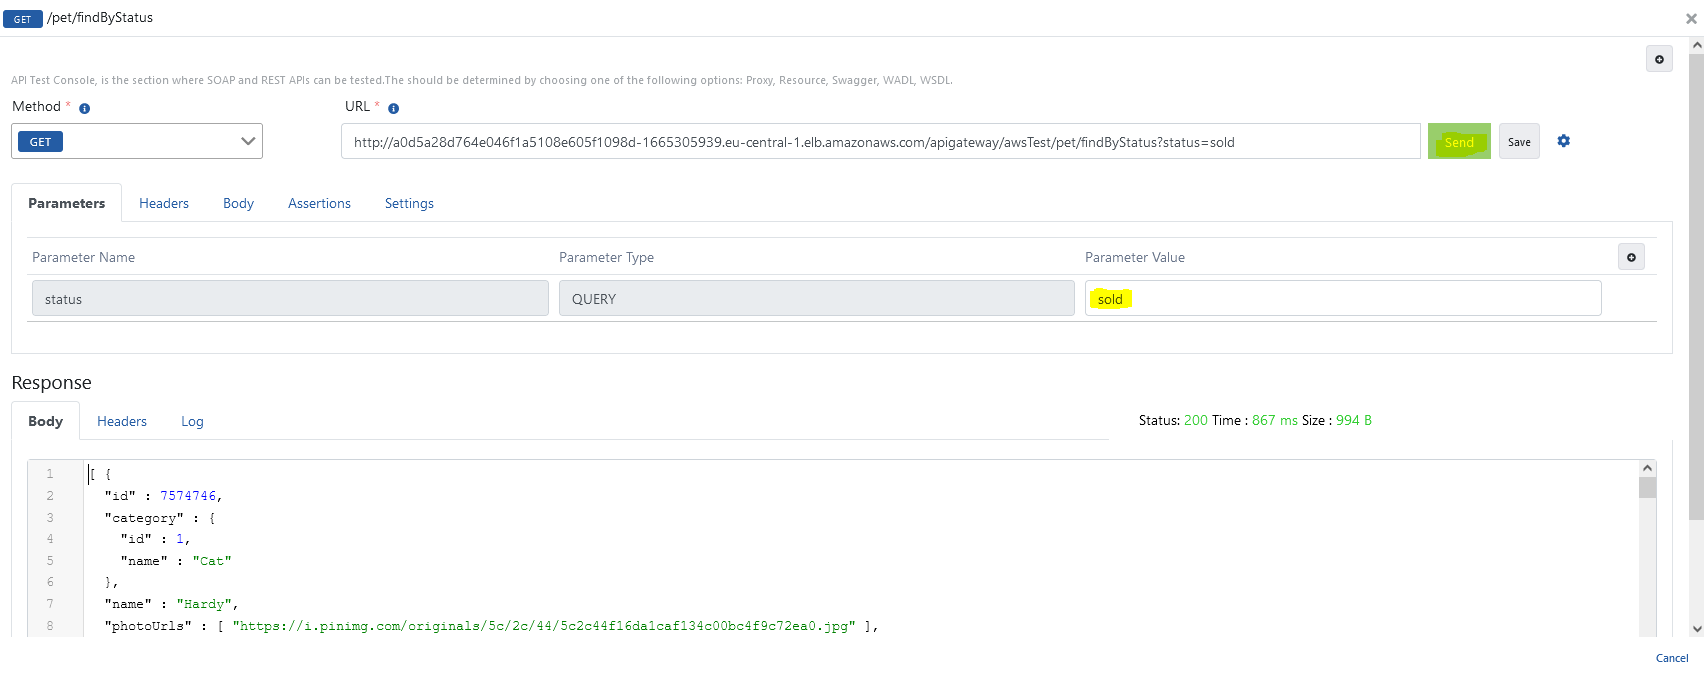
For detailed information about API Proxy, see Developer Guide.For detailed information about Test Console, see Test Console page.