

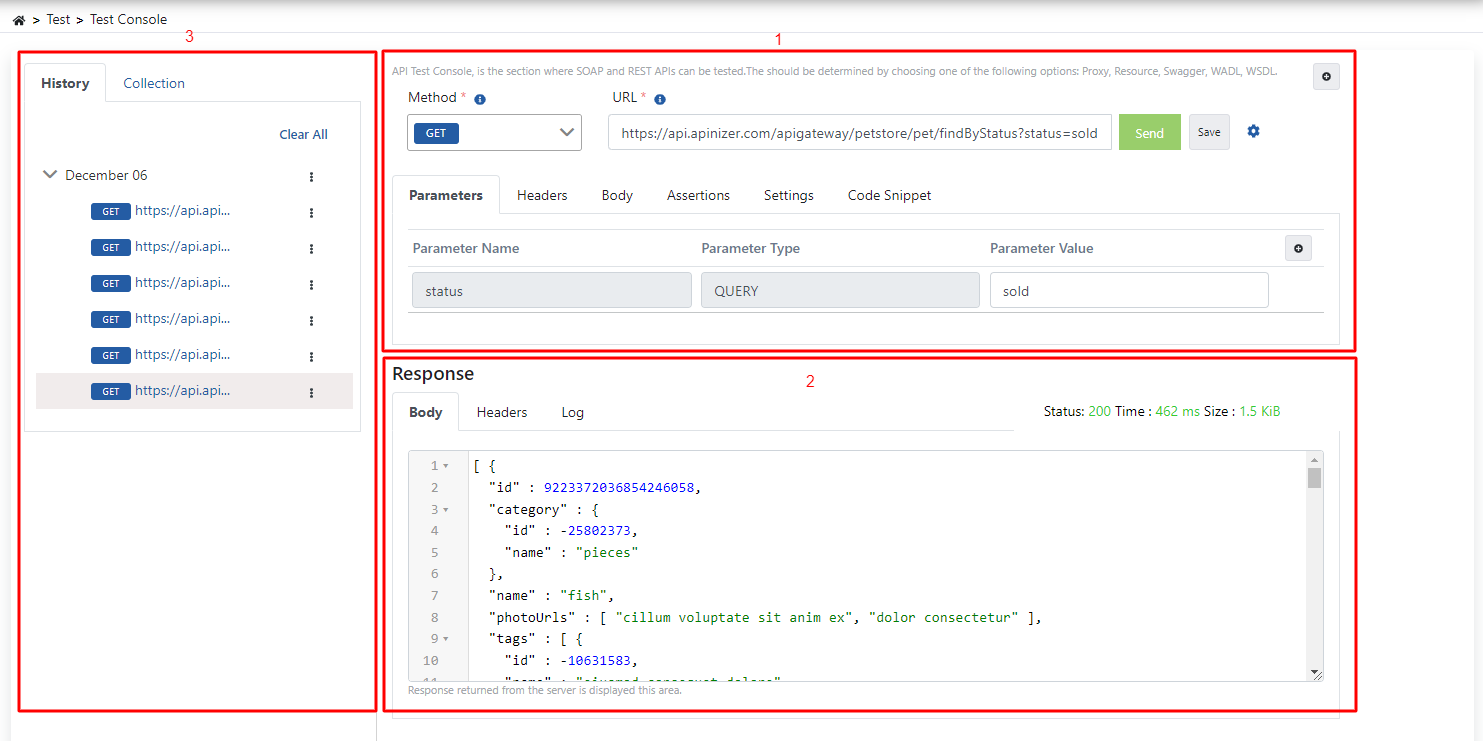
Test Console
Request
Manages request preparation operations
Response
Manages result operations related to response
Test Records
Displays test history and tests saved as groups
Request
Creating Request Address
There are two ways to create a request address:- The endpoint to be tested can be written manually
- An API Proxy on Apinizer can be tested from the Test Helper interface or a request address can be created from an API definition file
Creating Request Address with Test Helper
When the selected button in the following image is clicked, the Test Helper dialog opens.
Test Helper Button

Test Helper Settings
If the created endpoint has a parameter list and example request body, they are also created by Apinizer.
Adding Query Parameter
Query parameters of the request are managed from the Parameters tab. Each edited value is automatically updated on the URL information.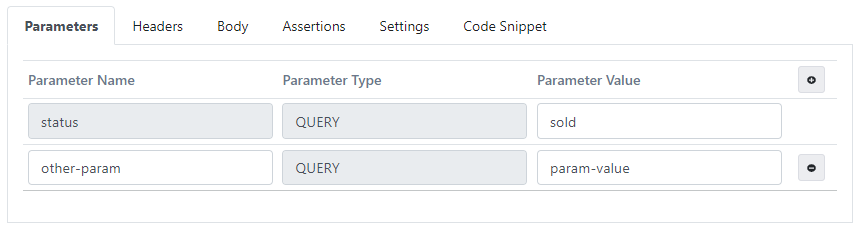
Adding Query Parameter
Adding Header
Request headers are managed from the Headers tab.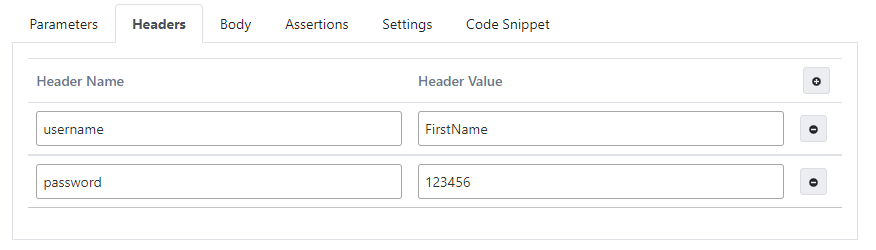
Adding Header
Adding Body
Data to be added to the request body can be created in two different ways: raw, x-www-form-urlencoded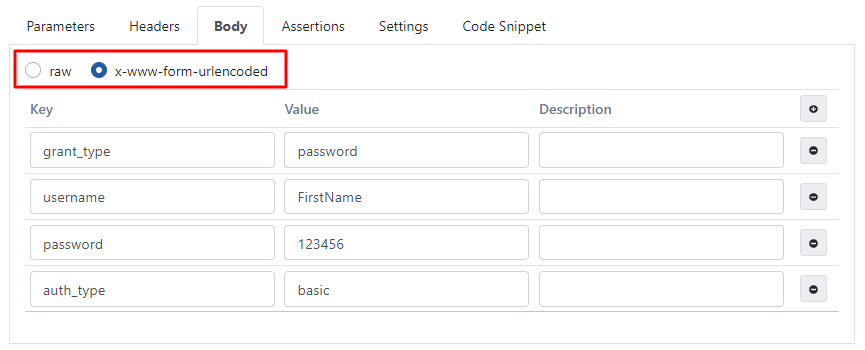
Adding Body
Format XML
Format XML operation can be performed with the data to be added to the request body.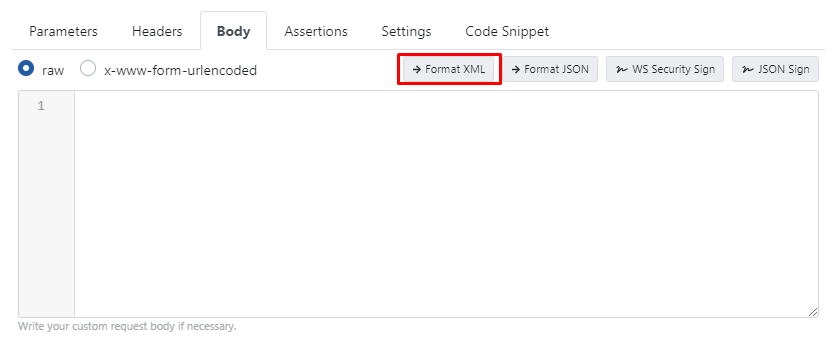
Format XML
Format JSON
Format JSON operation can be performed with the data to be added to the request body.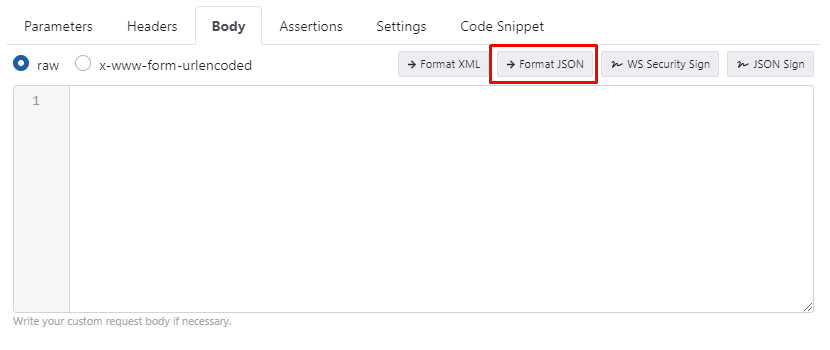
Format JSON
WS Security Sign
WS Security Sign operation can be performed when the data to be added to the request body is selected as raw.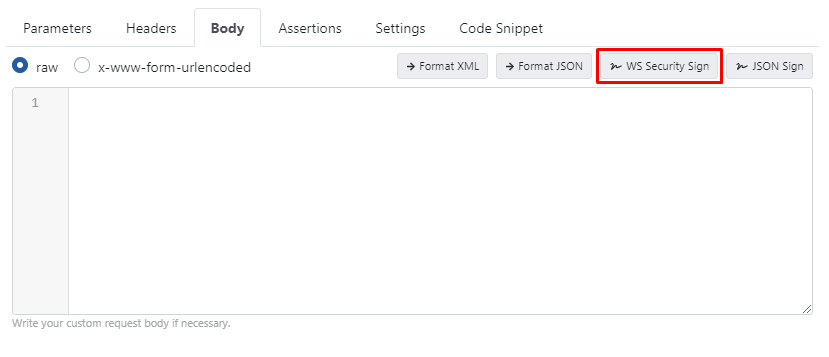
WS Security Sign
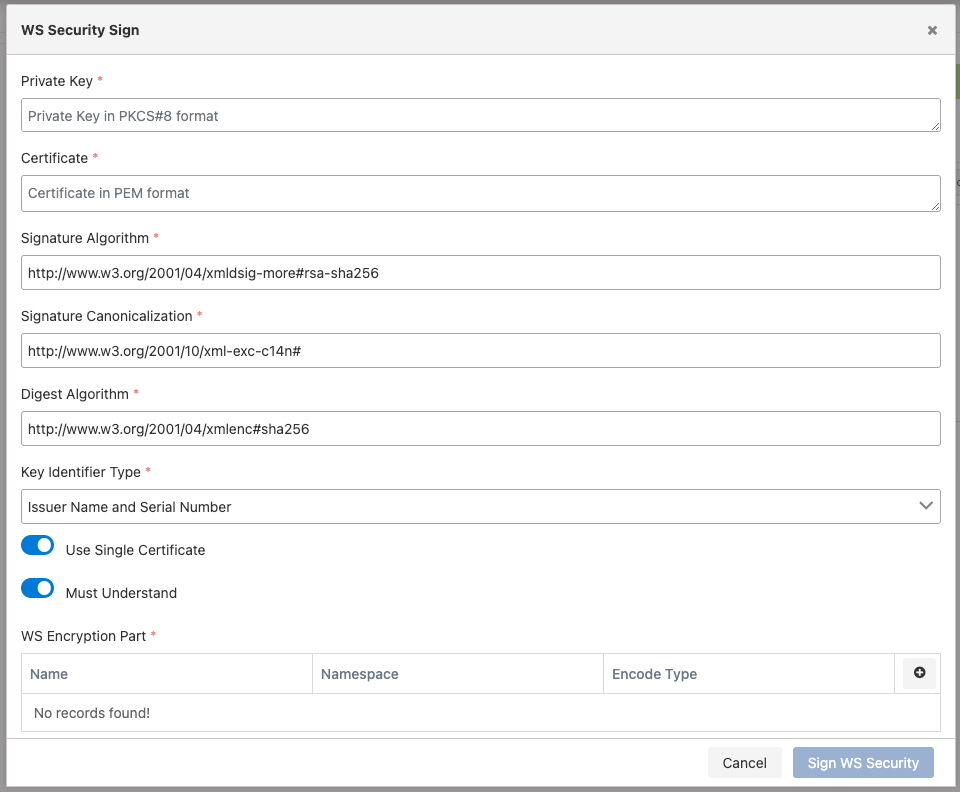
WS Security Sign Settings
Sign JSON
Sign JSON operation can be performed when the data to be added to the request body is selected as raw.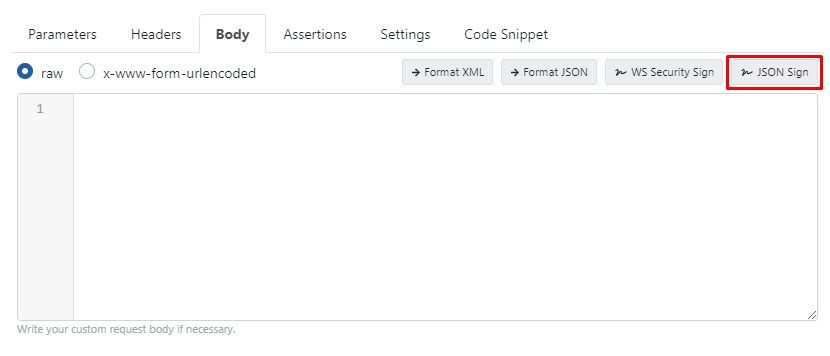
Sign JSON
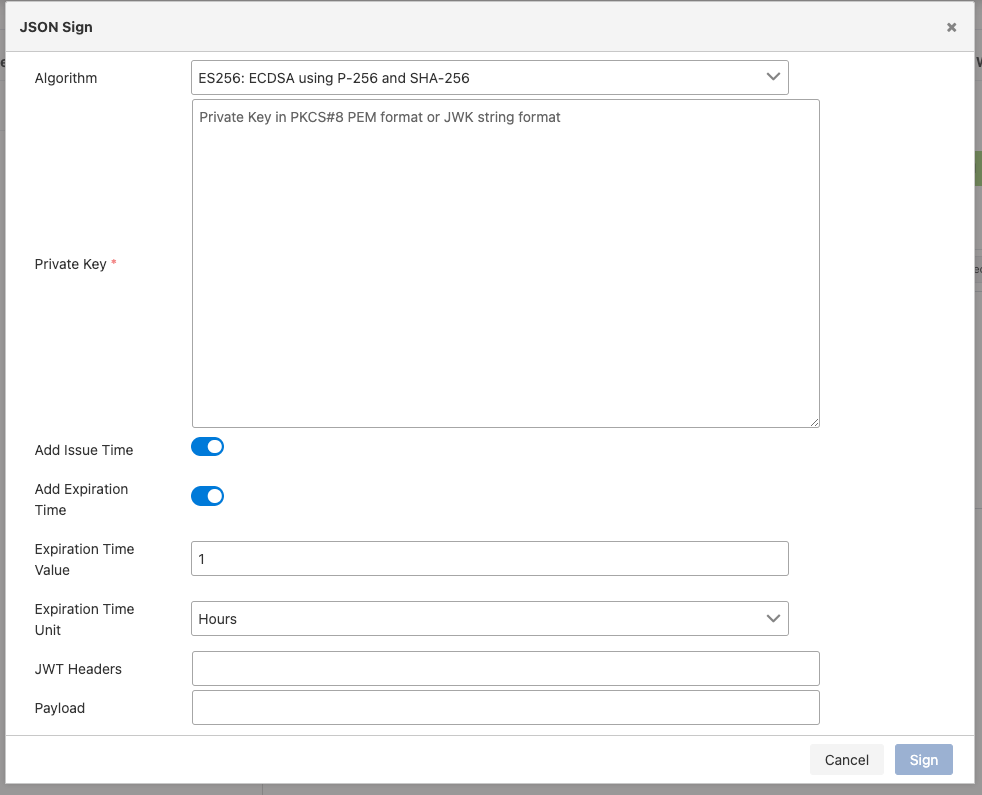
Sign JSON Settings
Creating Assertion
The Assertion tab allows verification of the response related to the request by querying values in the body with timeout, HTTP status code, body, JsonPath/XPath and comparing with expected values.
Creating Assertion
Settings
Timeout and secure connection (SSL/TLS/mTLS) settings are managed in the Settings tab.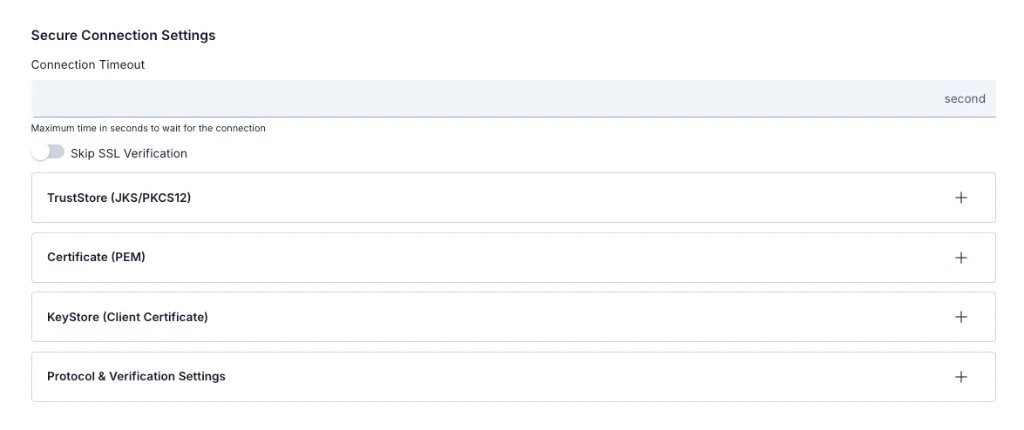
Secure Connection Settings
Top fields
Expandable sections
Use + on the right to expand each panel and configure TrustStore, PEM certificate, client KeyStore, and protocol/hostname verification:- TrustStore (JKS/PKCS12)
- Certificate (PEM)
- KeyStore (Client Certificate) — for mTLS when the backend requires a client certificate
- Protocol & Verification Settings — supported TLS versions and hostname verifier
TrustStore (JKS/PKCS12)
Used to verify the server certificate:Certificate (PEM)
PEM format certificate usage:KeyStore (Client Certificate)
Client certificate for mTLS when the target server requires it:Protocol and Verification Settings
For detailed information about the KeyStore and TrustStore pool, see the Key Stores page.
Code Snippet
The Code Snippet tab enables generating the code necessary to send the request via cURL.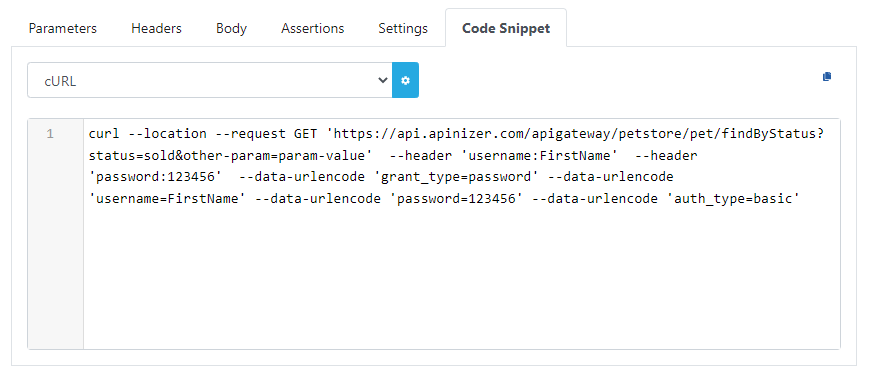
Code Snippet
Creating New Test
If a new test is desired after a test operation is performed, the test field information can be refreshed by clicking the button marked in the following image.
Creating New Test
Response
Response Body
The body of the response is shown in this section.
Response Body
Request Response Headers
The headers of the response are shown in this section.
Request Response Headers
Assertion Results
Results about whether assertions added to the request were successful are shown in this tab.
Assertion Results
Response Logs
The log of the response information is seen in this section.
Response Logs
History
The history of each request tested in the Test Console is stored. Test history is categorized by the days they were tested. When the link to the test’s log is clicked, the request can be tested again.
Test History
Test History Deletion Operations
- Click the Clear All link to delete all history information
- Delete day-based history from the detail menu of the relevant day information
- Delete only history from the detail menu of the relevant history information
Collection
Collection is the creation of test records configured under a group structure so that tests can be reused. Multiple collections can be found within each collection.Saving Test to a Collection
After completing your test, click the Save button marked in the image to save it.
Saving Test to Collection

Collection List
Collection-Based Operations
Operations that can be performed on a collection are done through the detail menu of the collection in the following image.
Collection-Based Operations
Record-Based Operations
Many operations that can be performed on a record are accessed through the detail menu in the following image.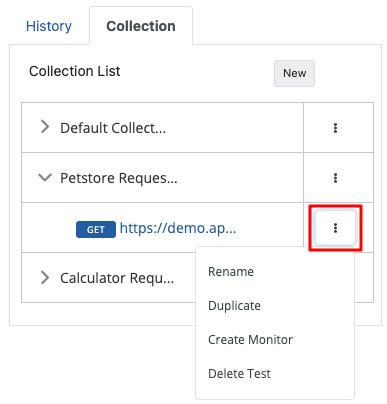
Record-Based Operations
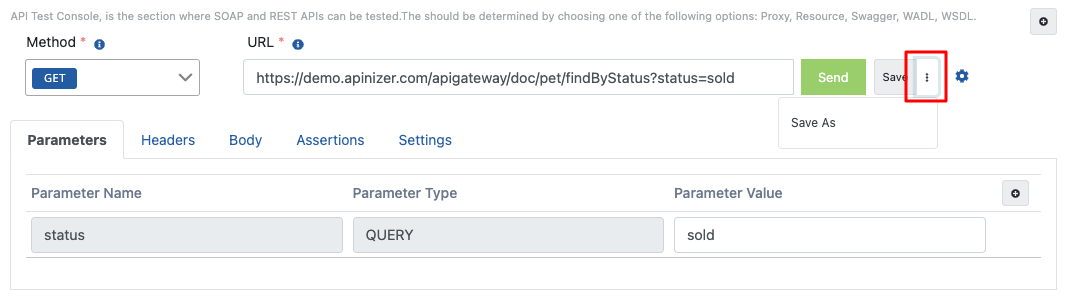
Save As