

Overview
What is its Purpose?
- Applies message time limits and narrows replay attack area by automatically adding WS-Security Timestamp header to SOAP-based requests.
- Ensures that target services mandatorily process the security header by optionally enabling the MustUnderstand flag.
- Provides reusability and centralized management as it can be defined as a global or local policy at API Proxy level.
- Produces consistent notifications about timeout or validation issues by customizing error messages centrally.
Working Principle
- Request Arrival: For each HTTP/HTTPS request arriving at the API Gateway, the source IP address of the request is identified.
- Policy Check: If the WS Security Timestamp policy is active, the system checks in the following order:
- Is a Condition defined? If so, is the condition met?
- Is the policy active (active=true)?
- Is a Variable used or is Apinizer default used?
- WS-Security Timestamp Injection: If Security header does not exist in SOAP envelope, it is created, marked according to mustUnderstand parameter, and Timestamp element is added by applying Time To Live value in seconds.
- Decision Making:
- Match Found: When conditions are met, timestamp header is added or updated; message body is routed to target with new time information.
- No Match: When conditions are not met, SOAP body is not modified and the process moves to the next step in the policy chain.
- Error Handling: Customizable HTTP status code and error message are returned for requests that do not comply with the policy rule.
Features and Capabilities
Basic Features
- Dynamic Validity Period: Can define how many seconds the timestamp will be valid with the Time To Live field; 0 value produces header without time limit; if value is not entered, safe default of 300 seconds is applied.
- MustUnderstand Requirement: Manages the mustUnderstand flag as
1if open,0if closed, to ensure that the SOAP security header is mandatorily processed by the target service. - Automatic Namespace Management: Automatically adds Security header namespace and missing SOAP header components, eliminating manual XML editing needs.
- Active/Passive Status Control: Easily change the active or passive status of the policy (active/passive toggle). In passive state, the policy is not applied but its configuration is preserved.
- Condition-Based Application: Determine when the policy will be applied by creating complex conditions with Query Builder (e.g., only for specific endpoints or header values).
Advanced Features
- Default TTL Fallback Mechanism: Applies safe starting values by automatically fixing negative or empty Time To Live values to 300 seconds.
- Security Header Generation: Creates new header when Security header does not exist in SOAP message, updates mustUnderstand flag if exists, providing unified management.
- Error Management Integration: Catches WSSecurityException or unexpected errors and forwards to Apinizer event management with customizable error codes and message lists.
- Export/Import Feature: Export policy configuration as a ZIP file. Import to different environments (Development, Test, Production). Version control and backup capability.
- Policy Group and Proxy Group Support: Manage multiple policies within Policy Group. Bulk policy assignment to Proxy Groups. Centralized update and deploy operations.
- Deploy and Versioning: Deploy policy changes to live environment. See which API Proxies use it (Policy Usage). Proxy Group and Policy Group usage reports.
Usage Scenarios
Configuring Policy Parameters
In this step, users can create a new policy or configure existing policy parameters to define access rules. The defined parameters directly affect how the policy works (e.g., which IPs will be allowed, geographical restrictions, conditional activations, etc.). This allows the policy to be customized according to organization-specific requirements and managed centrally.Creating a New WS Security Timestamp Policy
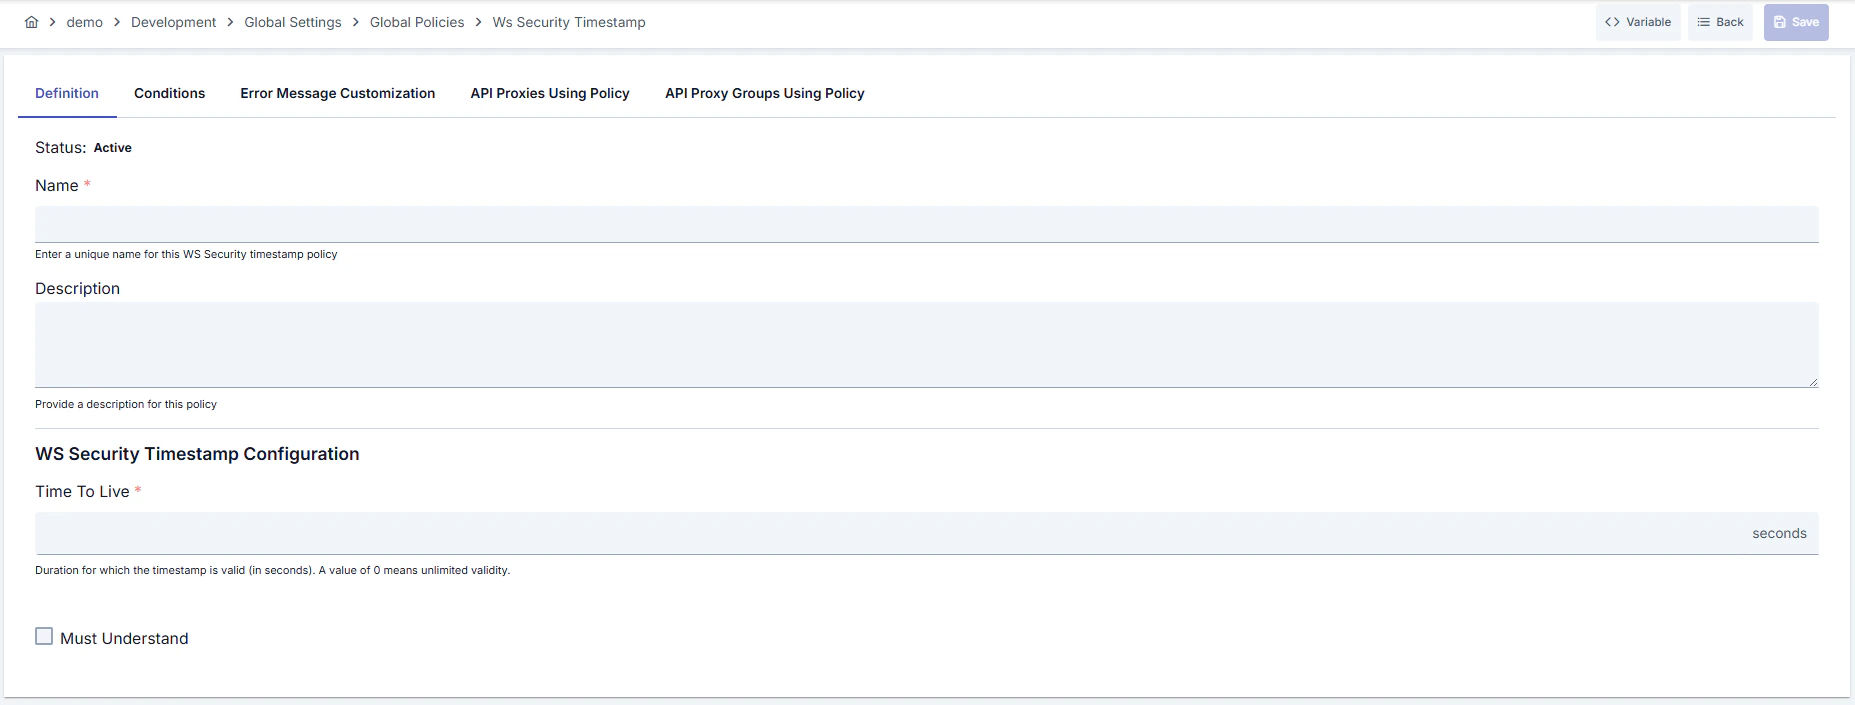
Configuration Steps
For the description of Conditions and Error Message Customization panels, you can review the Conditions and Error Message Customization sections on the What is Policy? page.
For a complete guide on all layers, priority order and scenario examples of the error message configuration system, see the Error Message Configuration Guide page.