

- Full Name
- Organization
- Status (Enabled / Disabled)
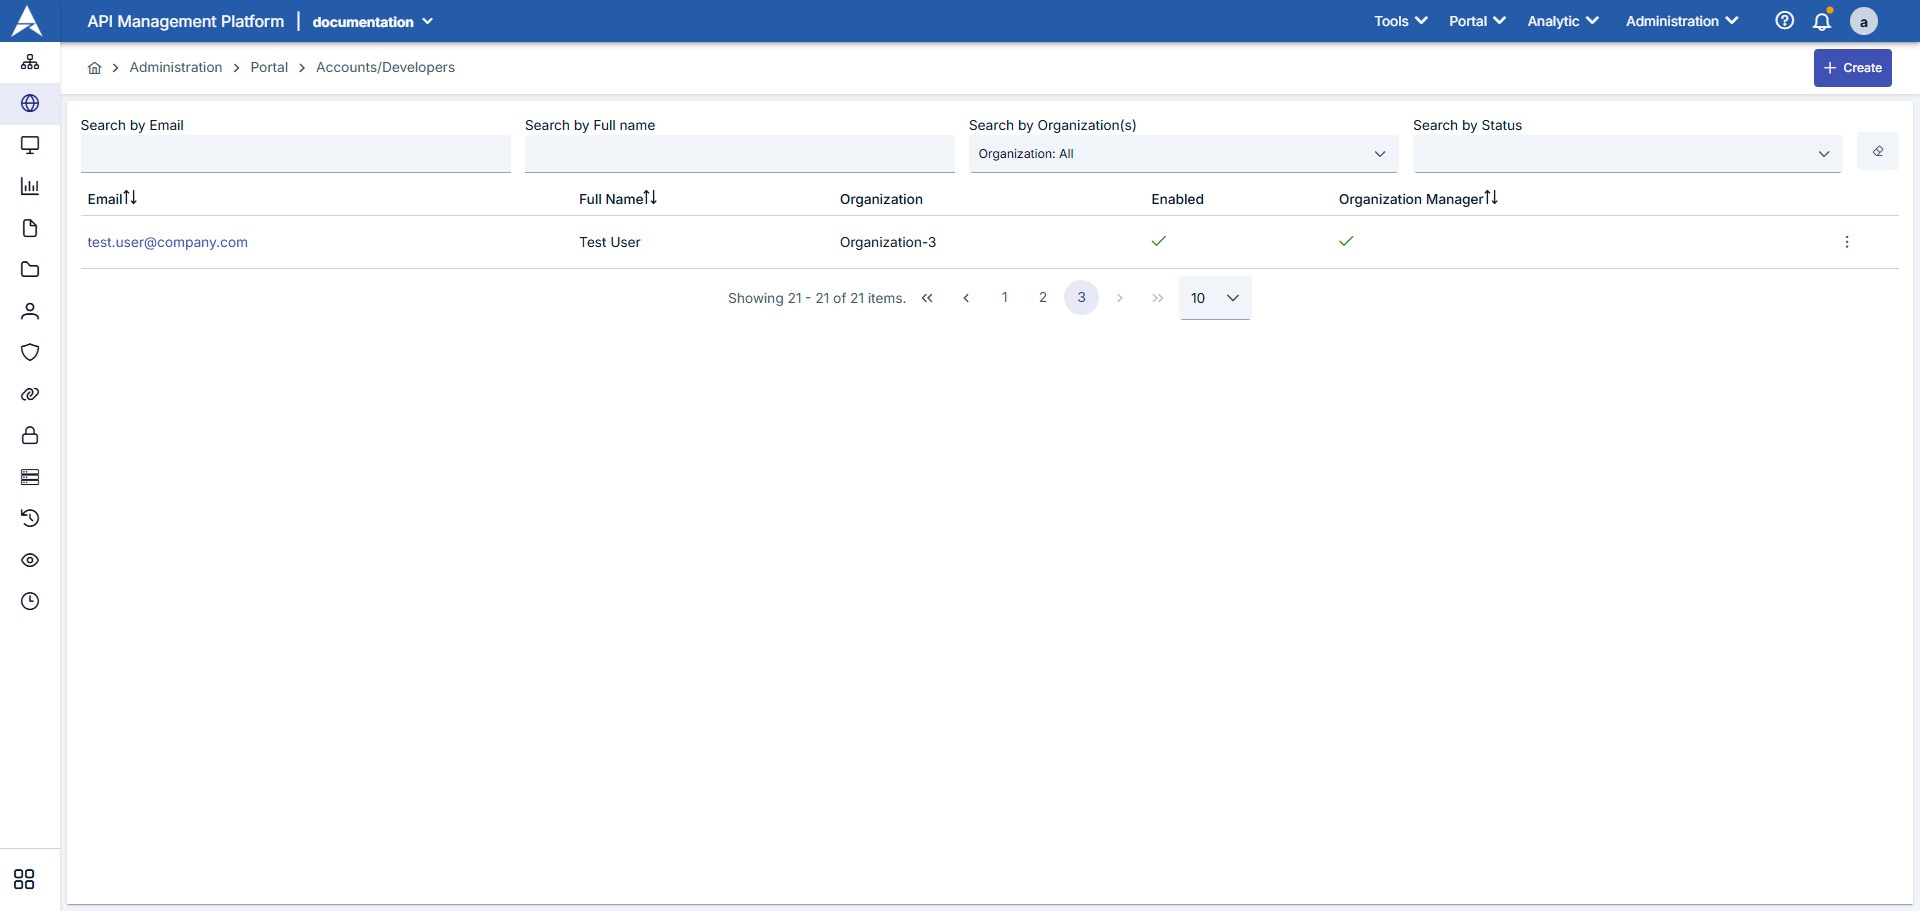
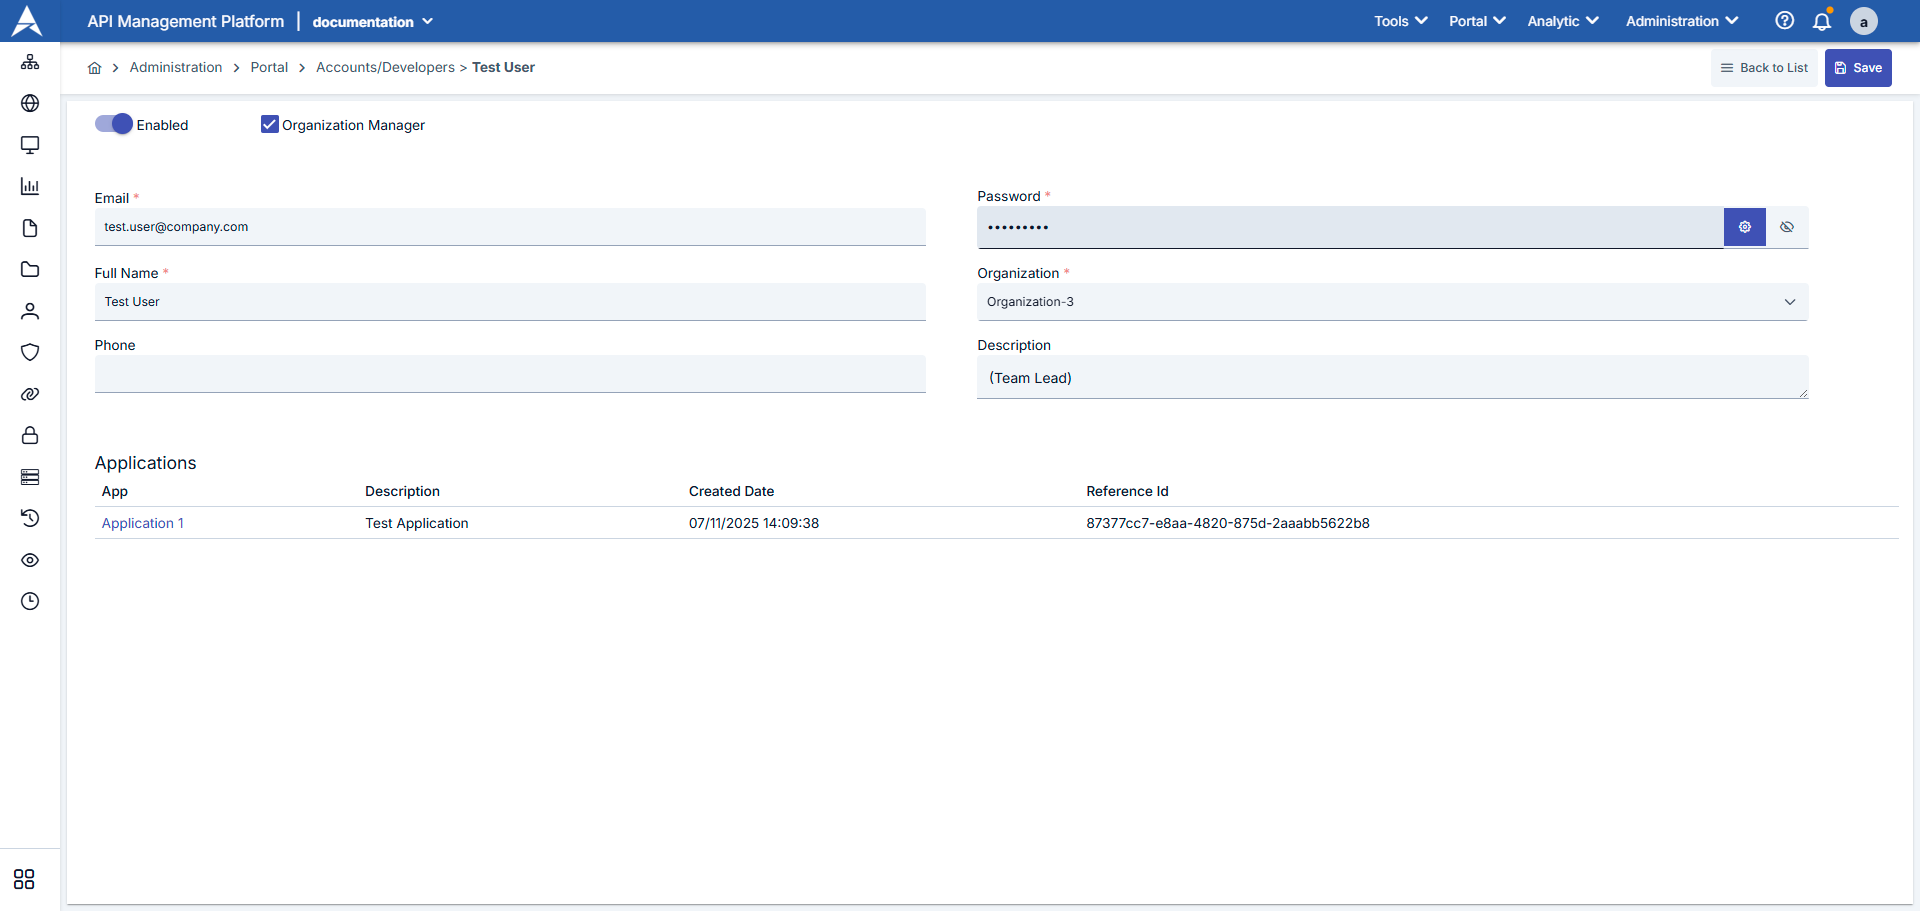
All applications and their details belonging to that person are listed. Fields are explained in the table below:
Appearance in Portal Interface
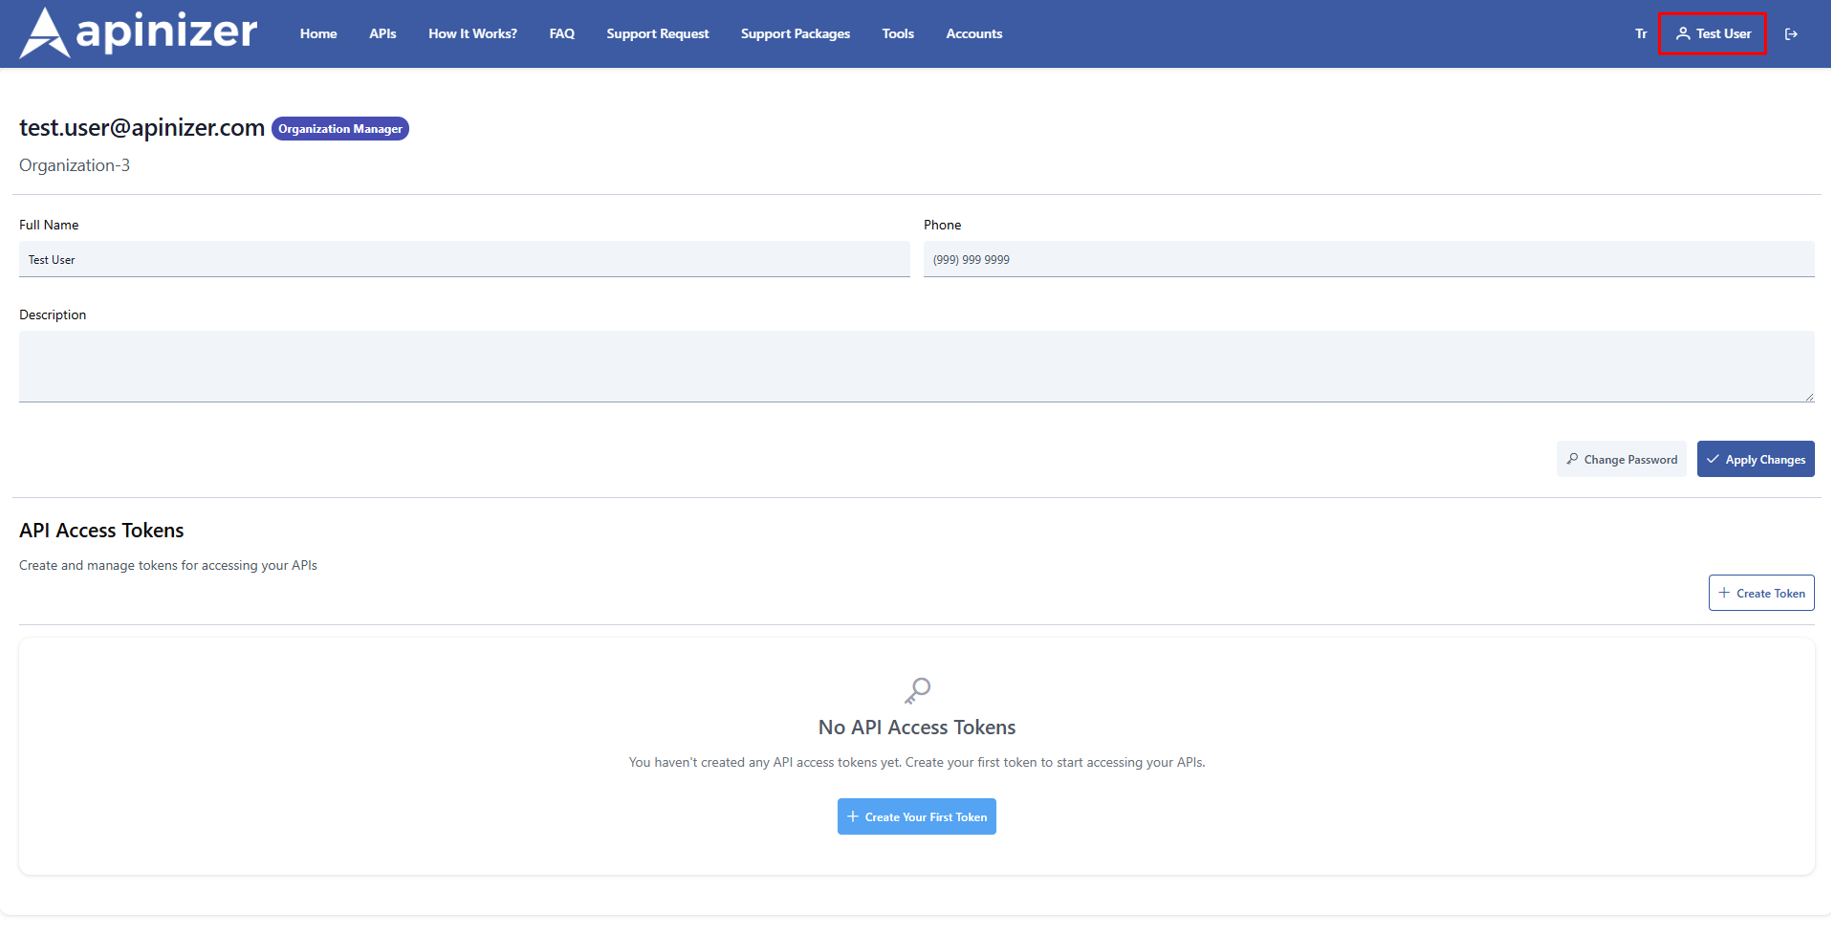
After users become members of the Apinizer portal and their accounts are approved, they can manage their profile information. However, they can update all information except the email address. Profile updates allow users to ensure the accuracy and currency of their personal information.Users Can View and Edit Their Information
On the Portal, users can easily view and edit their own account information when needed. You can follow these steps to perform this operation: Viewing Account Information:- Email Address: User’s email address is specified at the top of the profile page. Also, if you are an organization manager, an “Organization Manager” label appears next to the email address.
- Full Name: User’s first and last name are displayed on the profile screen and can be edited.
- Phone Number: Phone number can also be viewed and updated in the same way.
- Description: User can add personal information or organization-related descriptions to the profile description section.
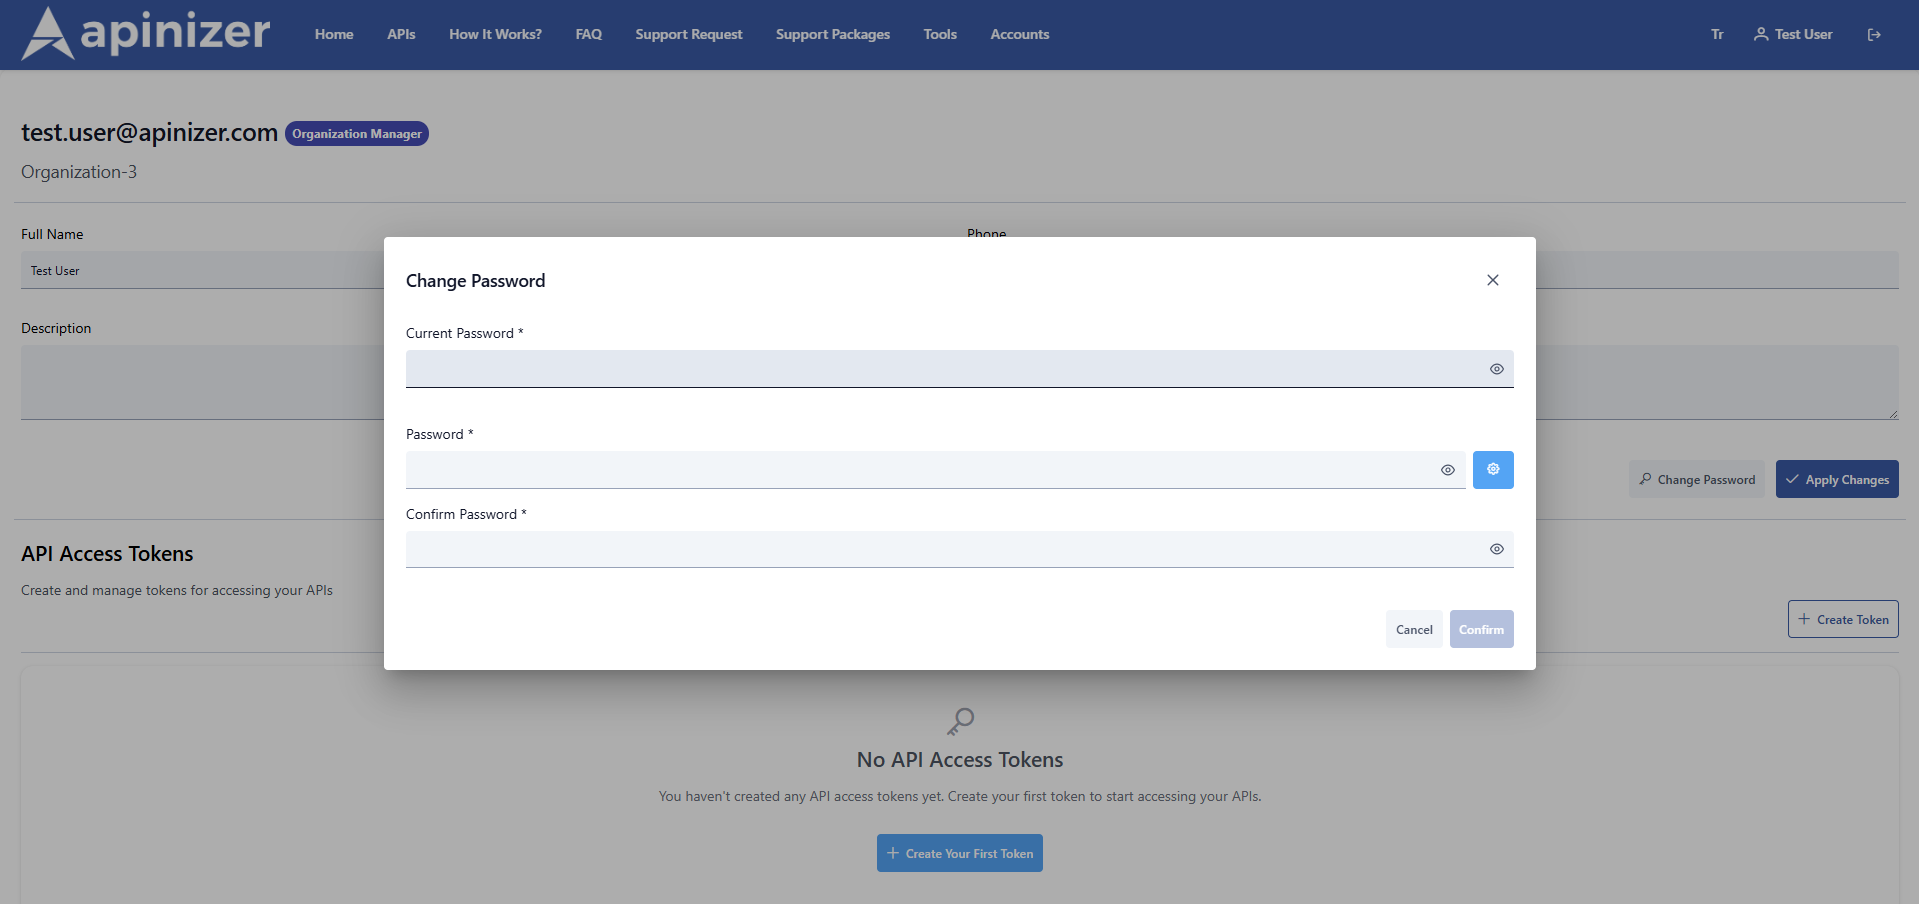
- User clicks the “Change Password” button for password change, enters their current password, and creates a new password. They need to enter it again to verify the new password.
Creating and Managing API Access Tokens
On the Apinizer portal, creating and managing API access tokens is quite simple. API tokens allow your application to access Apinizer APIs.- Allows you to generate bearer tokens for machine-to-machine calls on behalf of the API Portal account (CLI, automation, third-party integration).
- Each token is saved with name and duration information; you can cancel it whenever you want.
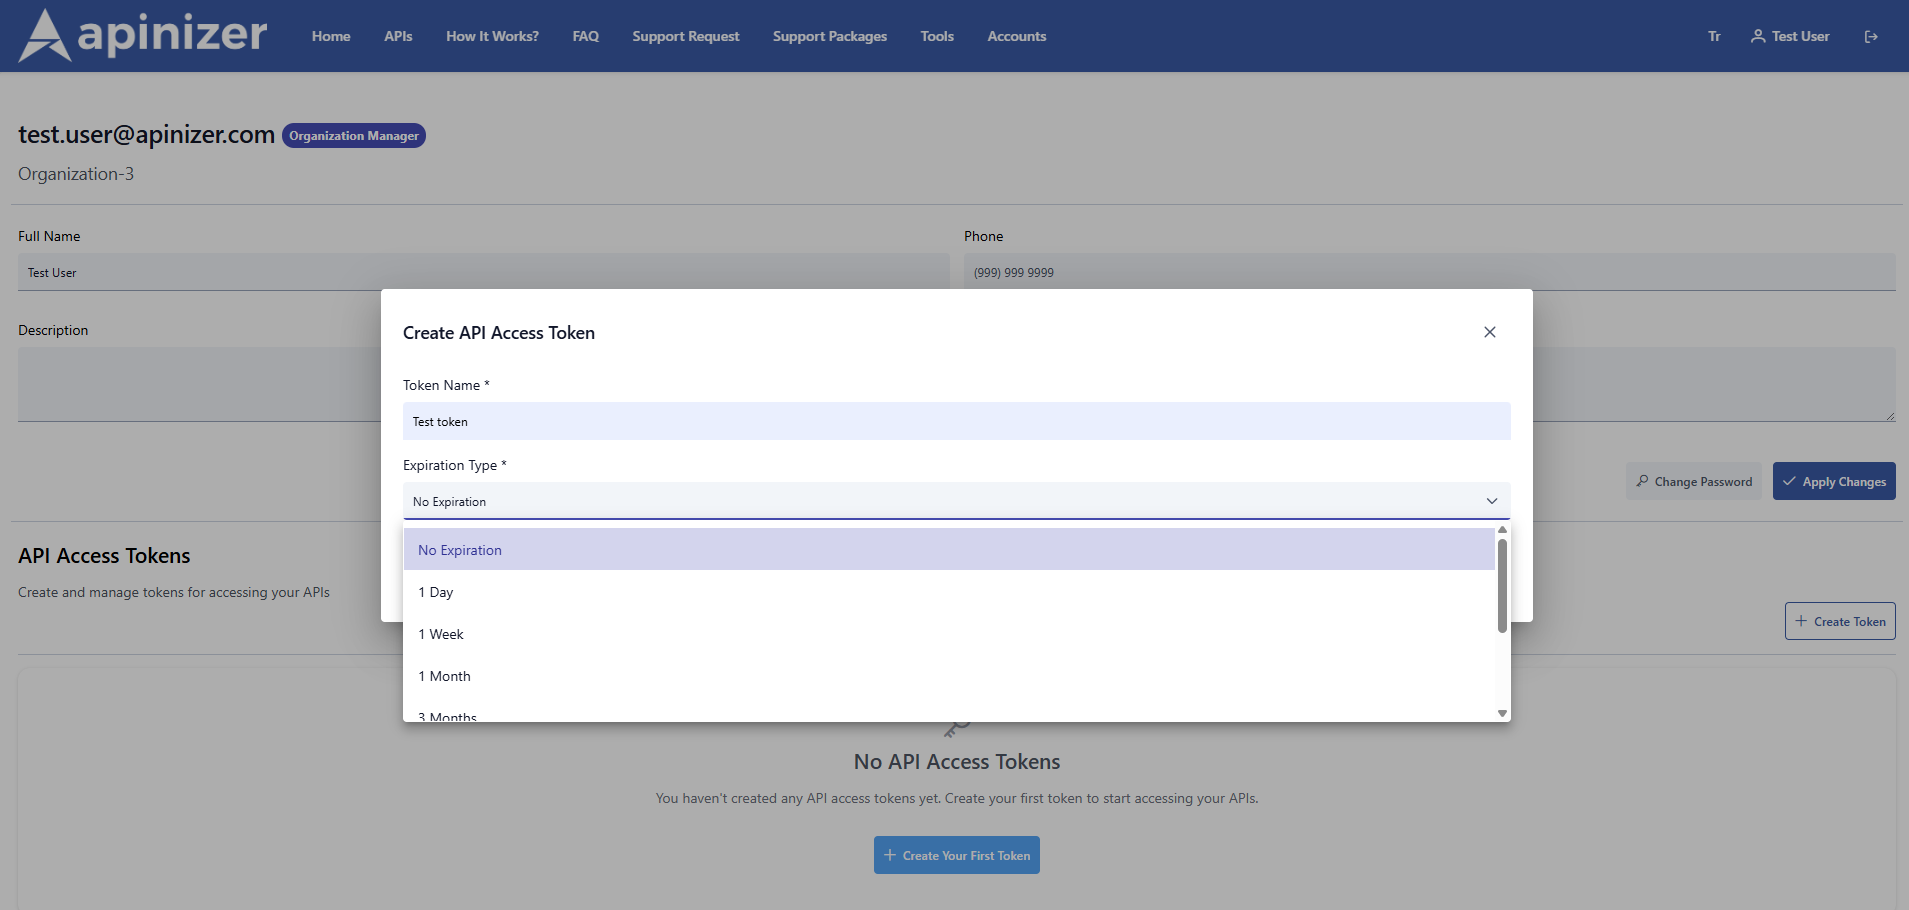

When a token is revoked, integrations start receiving 401 errors; generate a new token and update the configuration.
Where Are Tokens Used?
API Access Token is an authentication tool used to securely access the Apinizer API. The “API Access Tokens” tab on the profile page allows developers to generate personal access keys to authorize machine-to-machine integrations connected to their own account. These keys are specifically designed for AI assistants working via MCP (Model Context Protocol) or external automations to access Portal/Manager APIs; tokens generated on the service side come in mcp_<uuid> format and are only shown as plain text at the moment of creation. This token allows your application or integrations to send or receive data to/from the Apinizer API over different platforms. By integrating the token you created with platforms such as API Portal and AI tools using MCP, you can securely manage data flow between systems.- For MCP integration, you can visit the API Portal MCP Usage documentation.
Creating Account from API Portal Interface
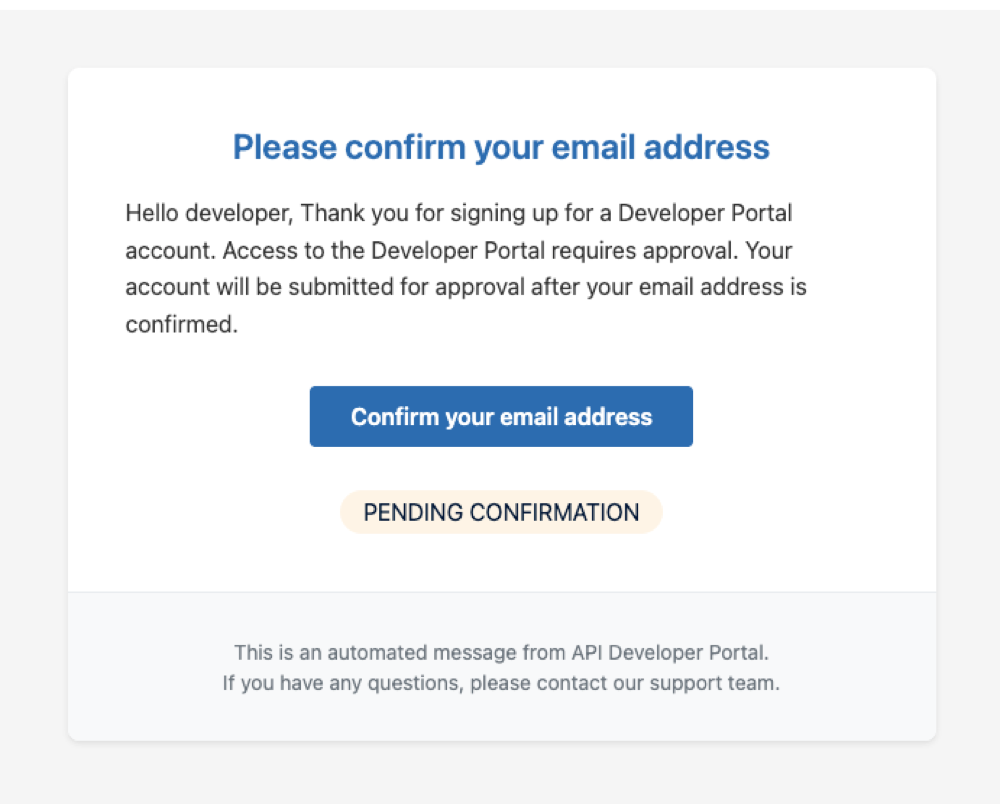
Anyone who wants to access the Apinizer API Portal, including Apinizer administrators, must register with the relevant API Portal and request access. Administrators will have separate credentials for Apinizer and the API Developer Portal. Developer registrations can be manually approved by Apinizer administrators or automatically approved by configuring automatic approval settings.Register as a Developer
All developers must register through the Apinizer API Portal. An Apinizer administrator can provide you with the correct registration URL.For the Sign Up button to be active, the “Activate developers to create their own accounts” option must be enabled in the table from the API Developer Portal settings section. If this button is closed, the Sign Up button will not be active.
- Step 1
- Step 2
- Step 3
- Step 4
- Step 5
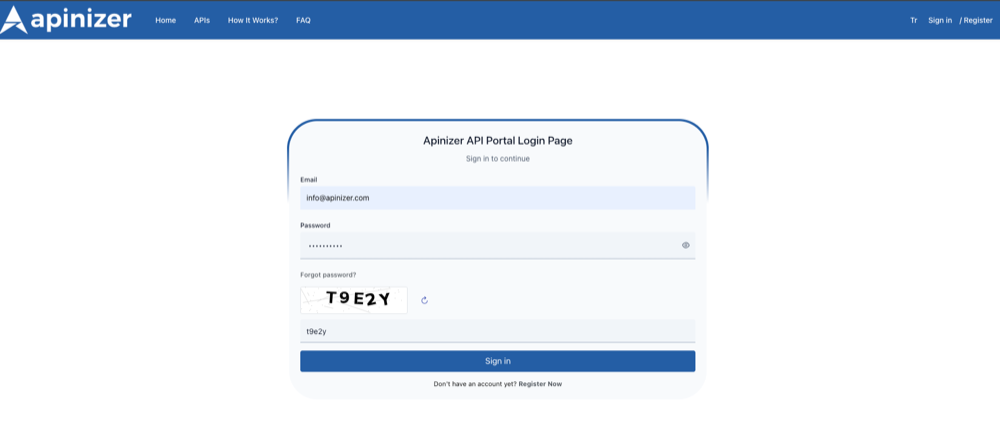
If you are not yet a member of the Apinizer API Portal, you can become a member by clicking the Sign Up button located in the top right corner.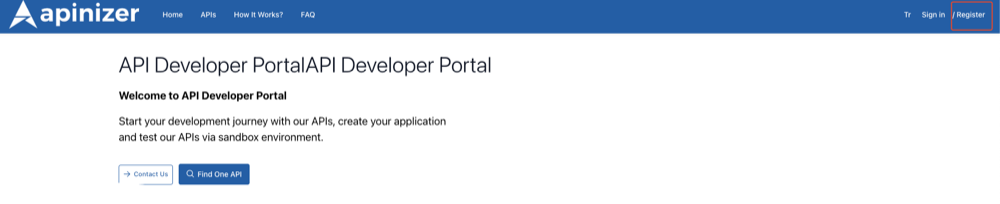
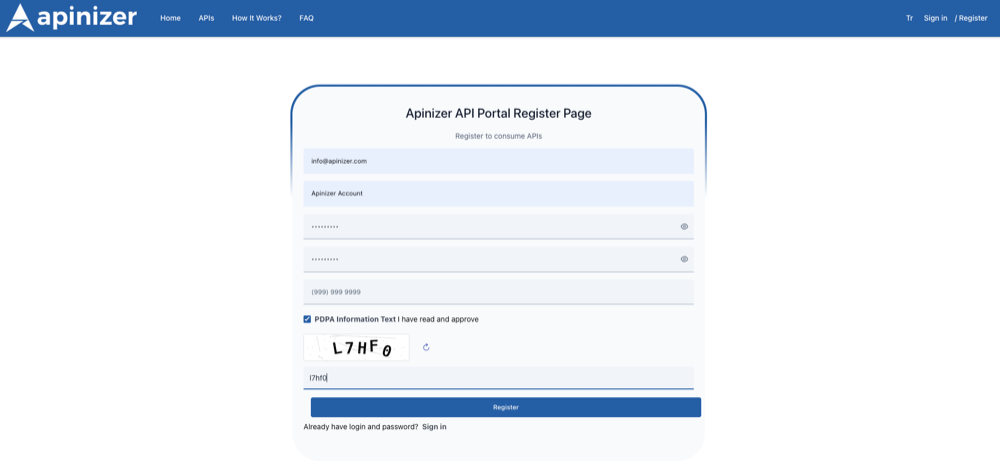
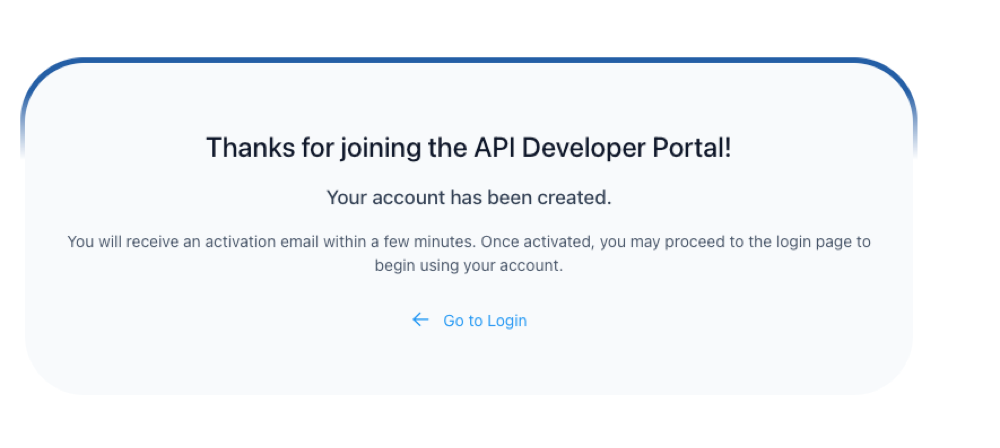
You can review the general settings to be used on the API Developer Portal side in detail.