

General Information Tab
This tab contains general settings related to the selected API Proxy.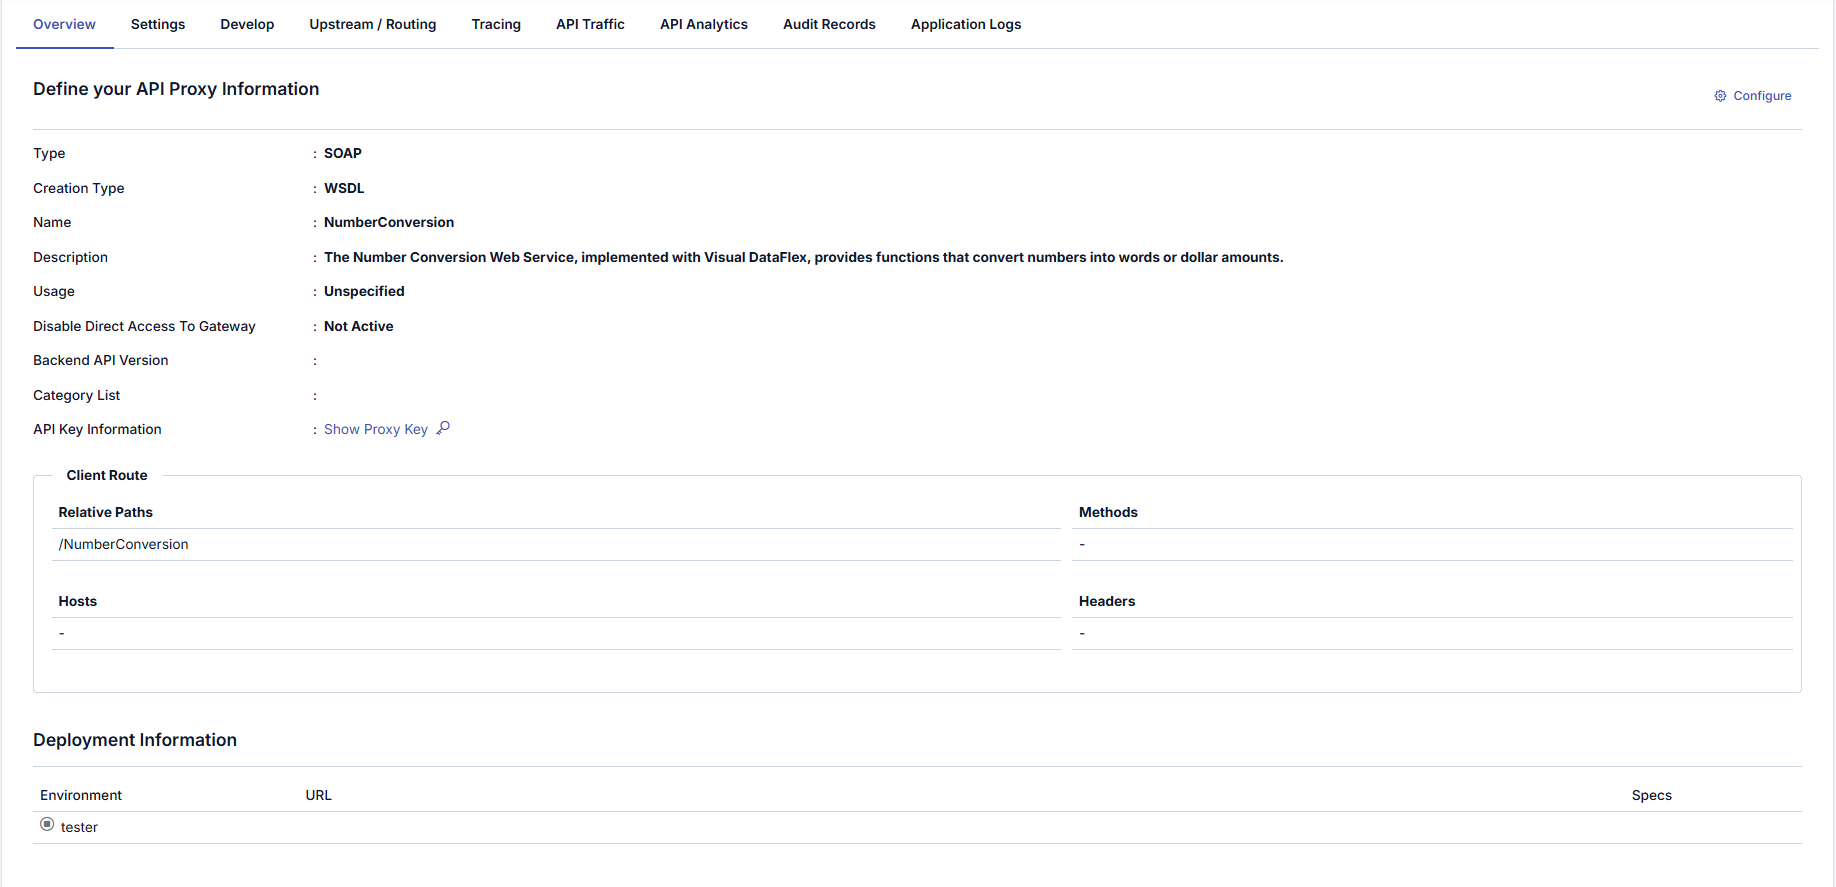
If the related API Proxy is part of a Group, you can click on the API Proxy Group Enabled link to navigate to the Group screen that the API Proxy belongs to.
Configuration
By clicking the Configure button, the basic information of the API Proxy can be configured in the dialog screen that opens.
Configuration Fields
For Detailed Information See: API Proxy Client Route Usage Guide
Example Configuration Flow
- Proxy name and description are entered.
- Path (Relative Path) is defined from the Client Route section.
- Method, host, or header constraints are added if necessary.
- Security settings are made (Disable Direct Access To Gateway, etc.)
- Categories are selected.
- Usage and sharing type are determined.
Show Proxy Key
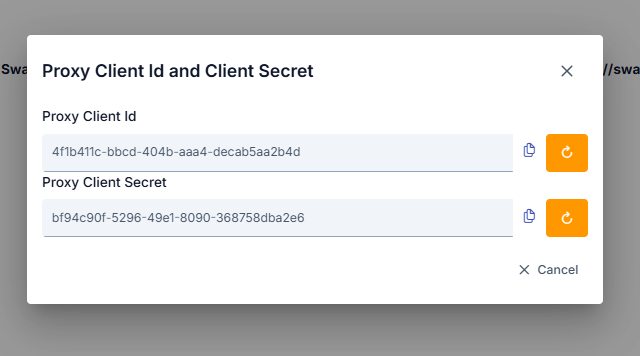
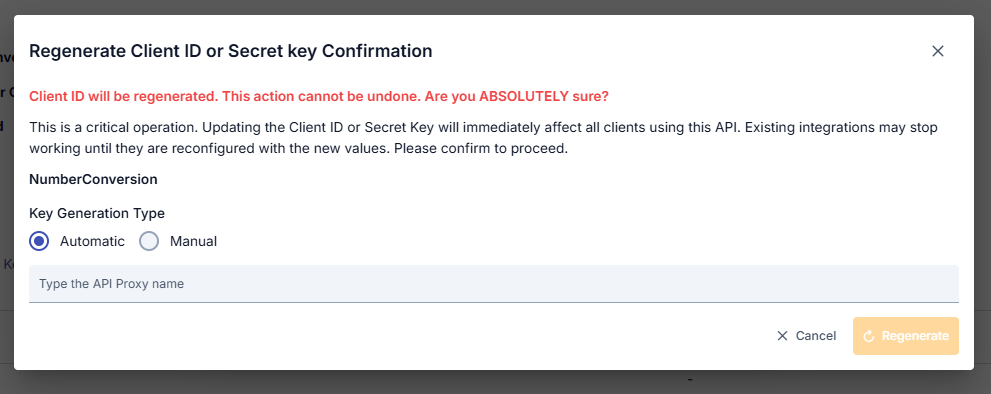
This is the section where the access keys of the API Proxy are managed. Access keys are used for OAuth2 Authentication Policy. Client Id and Client Secret values are automatically generated, and the user can request new ones to be created. If any of the keys for a deployed API Proxy are regenerated, the API Proxy must be redeployed for the keys to be valid.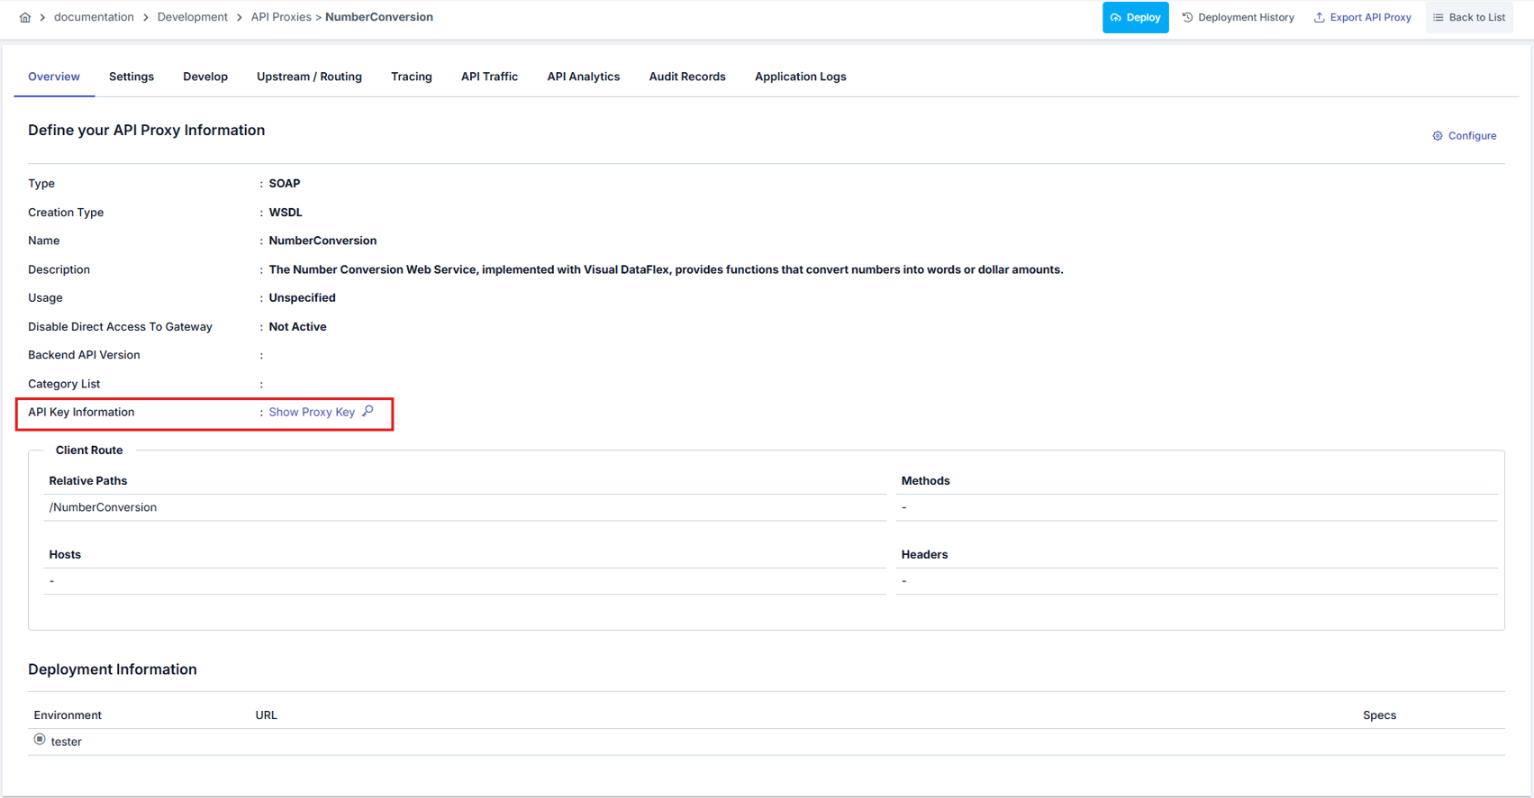
Deployment and Specification Information
The deployment information section displays which environments the API Proxy is deployed to and the access address in that environment. An API Proxy can be deployed to multiple environments at the same time. If an API Proxy Group has been created from the API Proxy, information about that group is also displayed in this area. An image containing the deployment section is shown below:
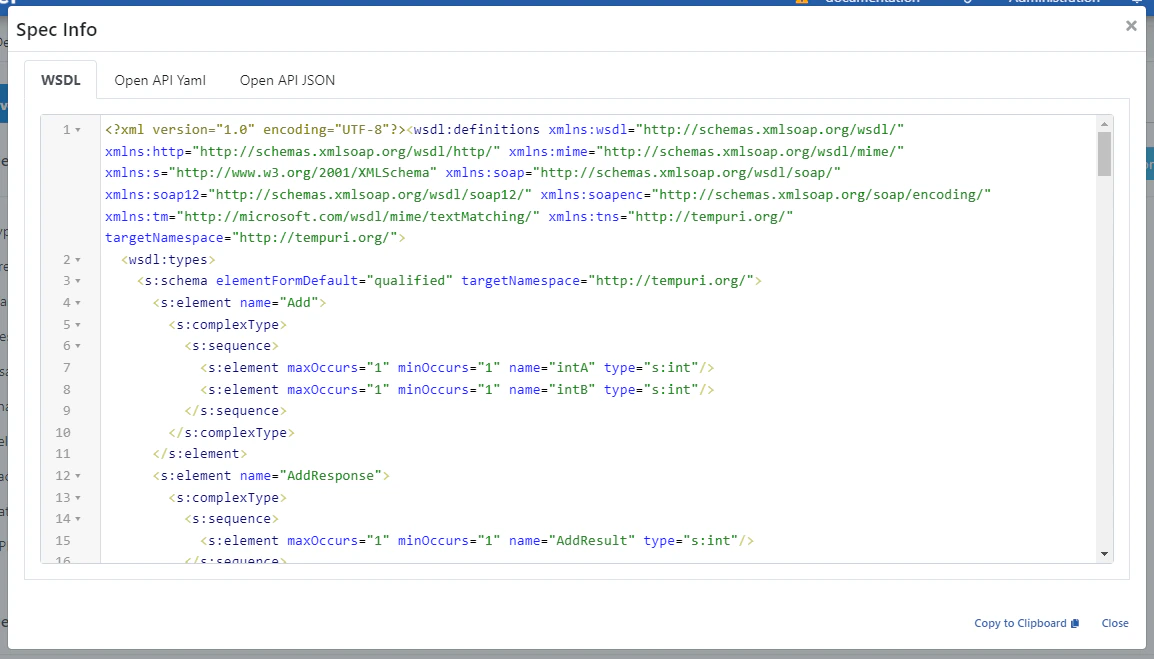
When the Show button is clicked, a dialog showing API Proxy definitions in different types and formats is shown below:
Next Steps
Deployment and Specification Information
API Proxy deployment and specification file information
Settings
API Proxy settings
Log Settings
API Proxy traffic log settings
Design
API Proxy design tab
Endpoint Configuration
REST endpoint configuration
SOAP Method Configuration
SOAP method configuration
Routing
Detailed Client Route configuration